
|
Available Languages
|

|

|
Introduction
|
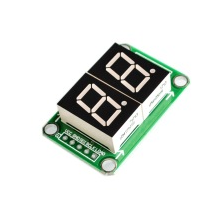
In this tutorial we will show you how to use the 2-Digit seven segment display with the Arduino UNO board. We will use the countUP() and countDown() functions to count from 0 to 'number' (variable) and from 'number' to 0. We can change this 'number' with a value from 0 to 99.
Let's get started! |
What you will need - HardwareFor this tutorial you will need: |
|
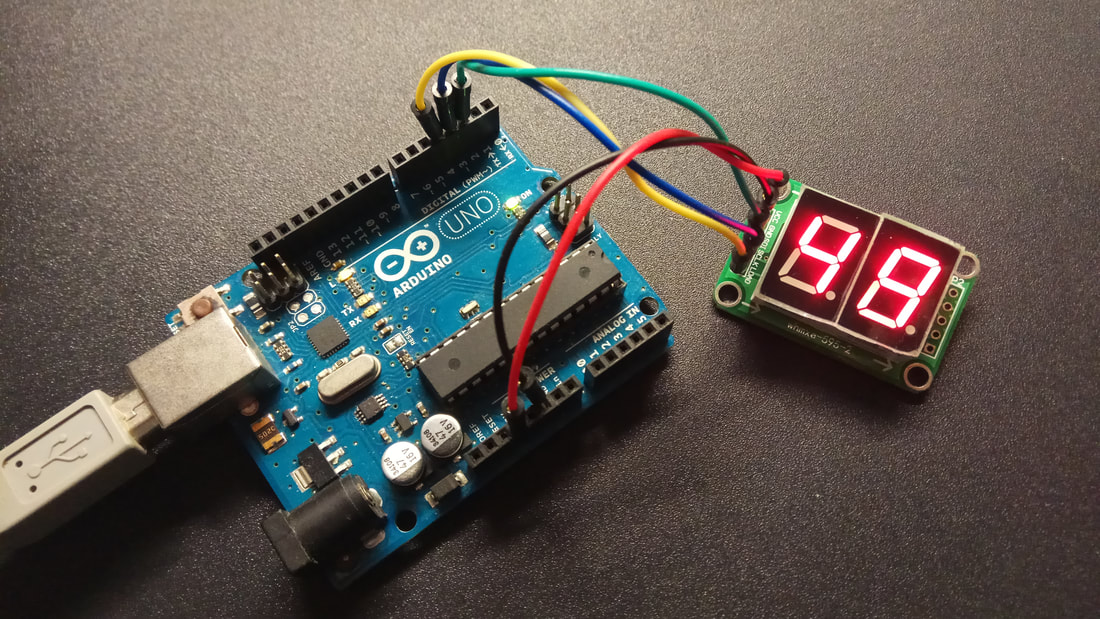
The Circuit
The connections are easy :
4-Digit Seven Segment connection:
4-Digit Seven Segment connection:
- Vcc to Arduino 5V Pin
- GND to Arduino GND
- SDI to Arduino pin 2
- CLK to Arduino pin 3
- LOAD to Arduino pin 4
The code
1 2 3 4 5 6 7 8 9 10 11 12 13 14 15 16 17 18 19 20 21 22 23 24 25 26 27 28 29 30 31 32 33 34 35 36 37 38 39 40 41 42 43 44 45 46 47 48 49 50 51 52 53 54 55 56 57 58 59 60 61 62 63 64 65 66 67 68 69 70 71 72 73 74 75 76 | /* * 2 Digitl 7 segment display PCB board with (2) 74HC595 shift register ICs * Arduino Tutorial - www.Ardumotive.com * Dev: Michalis Vasilakis // Date: 31/1/2018 // Ver:1.0 */ #include <ShiftRegister74HC595.h> // create shift register object (number of shift registers, data pin, clock pin, latch pin) ShiftRegister74HC595 sr (2, 2, 3, 4); int number=99; // <--- Change it from 0 to 99 int value,digit1,digit2,digit3,digit4; uint8_t numberB[] = {B11000000, //0 B11111001, //1 B10100100, //2 B10110000, //3 B10011001, //4 B10010010, //5 B10000011, //6 B11111000, //7 B10000000, //8 B10011000 //9 }; void setup() { //Count from 0 to 'number' countUp(); //Count from 'number' to 0 //countDown(); // <--- Comment countUp and uncomment countDown //Blink 4 times all on and all off. blink(); } void loop() { } void countUp(){ for (int i = 0; i<=number; i++){ //Split number to digits: digit2=i % 10 ; digit1=(i / 10) % 10 ; //Send them to 7 segment displays uint8_t numberToPrint[]= {numberB[digit2],numberB[digit1]}; sr.setAll(numberToPrint); //Reset them for next time digit1=0; digit2=0; delay(1000); // Repeat every 1 sec } } void countDown(){ for (number; number>=0; number--){ //Split number to digits: digit2=number % 10 ; digit1=(number / 10) % 10 ; //Send them to 7 segment displays uint8_t numberToPrint[]= {numberB[digit2],numberB[digit1]}; sr.setAll(numberToPrint); //Reset them for next time digit1=0; digit2=0; delay(1000); // Repeat every 1 sec } } //Blink void blink(){ for(int i = 0; i<4; i++){ sr.setAllLow(); // set all pins Low (off) delay(1000); sr.setAllHigh(); // set all pins High (on) delay(1000); } } |
|
Download the code from here and open it with Arduino IDE. Inside you will also find and the DHT.h library.
|
| ||
Well done!
You have successfully completed one more Arduino "How to" tutorial and you learned how to use the 2-Digit 7 Segment Display 74HC595 module.
I hope you liked this, let me know in the comments.
I hope you liked this, let me know in the comments.


