Introduction |
Published date: 16/5/2017
|
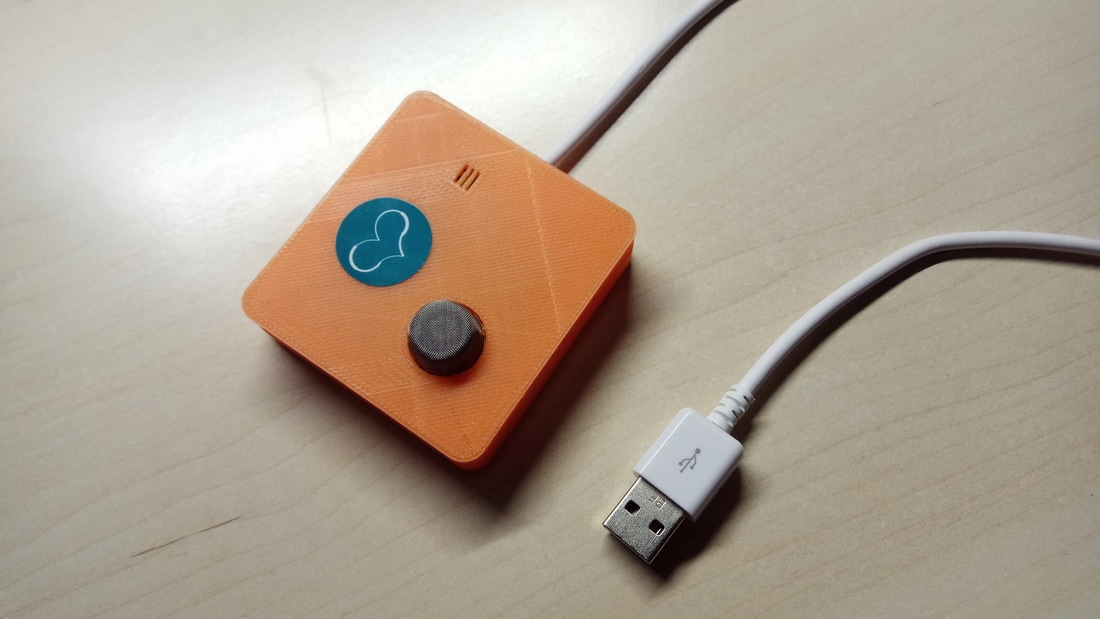
The MQ series of gas sensors use a small heater inside with an electro-chemical sensor. They are sensitive for a range of gasses and are used indoors at room temperature. The output is an analog signal and can be read with an analog input of the Arduino.
The MQ-2 Gas Sensor module is useful for gas leakage detecting in home and industry. It can detect LPG, i-butane, propane, methane ,alcohol, hydrogen and smoke.
Some modules have a built-in variable resistor to adjust the sensitivity of the sensor.
Note: The sensor becomes very hot after a while, don't touch it!
What you will need - Hardware
|
For this project you will need:
|
|
3D Printer Files
You can download the .stl 3D files from here. Credits for the 3D design goes to Thingiverse member "unchiu"! Thank you very much for sharing them!
The circuit
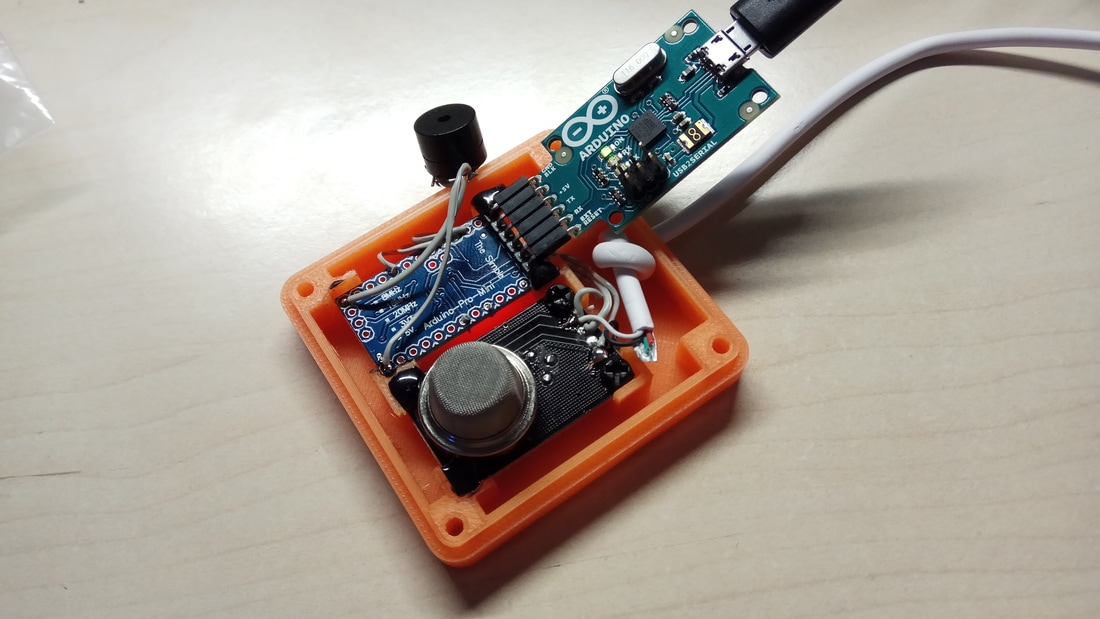
The circuit is very simple, follow the steps below:
MQ2 module:
Buzzer:
+ pin to Arduino pin 10
- pin to Arduino pin 9 (not to gnd!)
USB cable:
Cut it and find the + and - cables. Use a voltometer or multimeter tool. Finally make the connection:
+ cable to Arduino or MQ2 module Vcc pin
- cable to Arduino or MQ2 module GND pin
MQ2 module:
- Vcc to Arduino Pro mini Vcc (or 5V)
- GNG to GND
- Analog signal to Arduino A0 pin
Buzzer:
+ pin to Arduino pin 10
- pin to Arduino pin 9 (not to gnd!)
USB cable:
Cut it and find the + and - cables. Use a voltometer or multimeter tool. Finally make the connection:
+ cable to Arduino or MQ2 module Vcc pin
- cable to Arduino or MQ2 module GND pin
The code
1 2 3 4 5 6 7 8 9 10 11 12 13 14 15 16 17 18 19 20 21 22 23 24 25 26 27 28 29 30 31 32 33 34 35 36 37 | /* Arduino - 3D Printed - Gas Sensor with buzzer * Detailed guide can be found at http://www.ardumotive.com/workshop * Date: 7/5/2017 // Ver:2.0 // Dev: Michalis Vasilakis * Update: toneAC library used for better alarm sound - 16/5/2017 */ #include <toneAC.h> const int gas = A0; int value; void setup(){ Serial.begin(9600); Serial.println("GAS Sensor analog values:"); } void loop(){ value = analogRead(gas); Serial.println(value); //toneAC( frequency [, volume [, length [, background ]]] ) - Play a note. if (value>=300 && value <400){ toneAC(1000,10,200); } else if( value>=400 && value<600){ toneAC(1500,10,100); } else if( value >=600){ toneAC(1500,10,50); } else{ noToneAC(); } delay(100); } |
|
Download the code from here and open it with Arduino IDE. Inside you will also find the toneAC library file.
|
| ||||||
Well Done!
Well...that's it!
I hope you liked this, let me know in the comments!
I hope you liked this, let me know in the comments!


