Introduction |
Published date: 18/6/2017
|
|
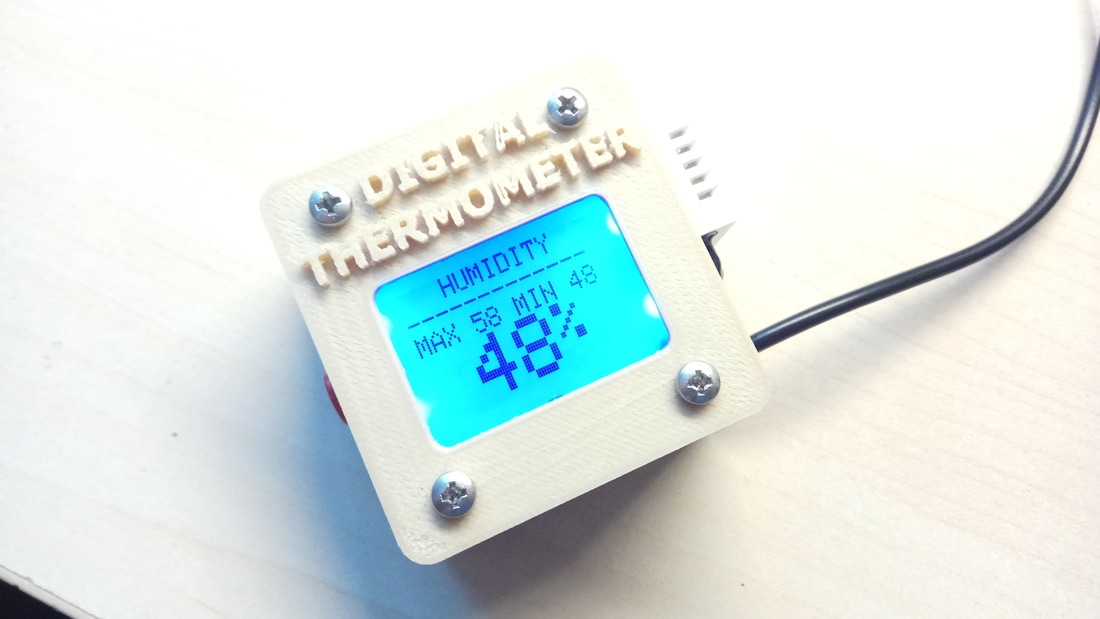
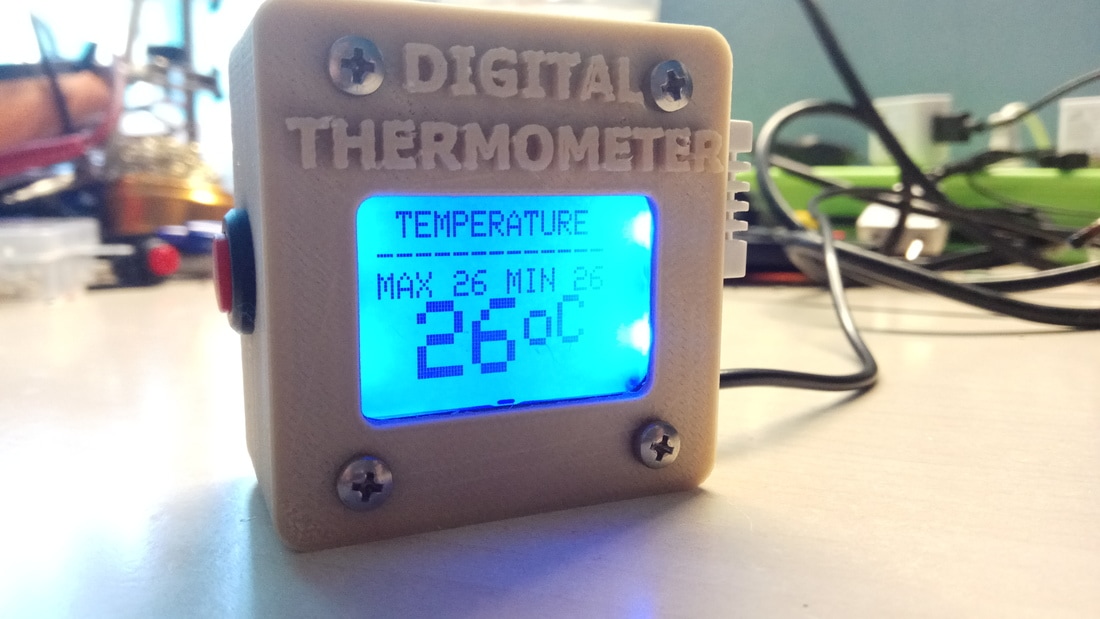
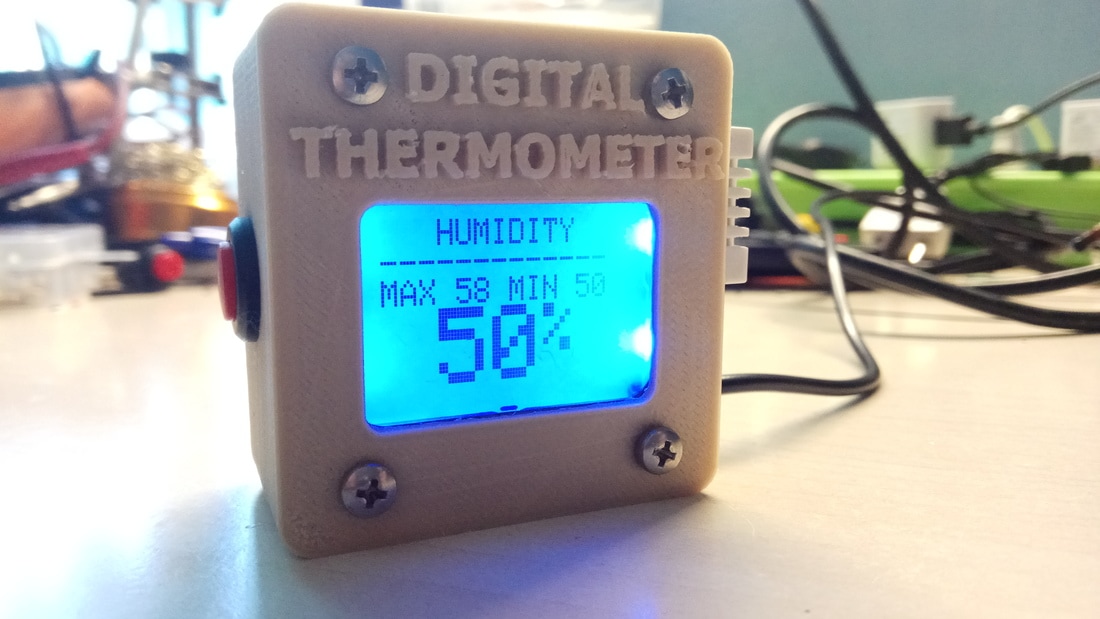
In this guide I will show you how to make your own Arduino digital thermometer by using the DHT-22 sensor and Arduino Pro Mini board. It can be powered up from any USB power source and it can report the max and min values for temperature and humidity as it works.
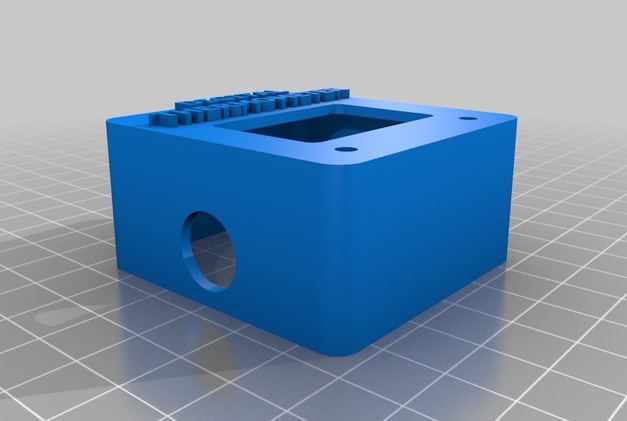
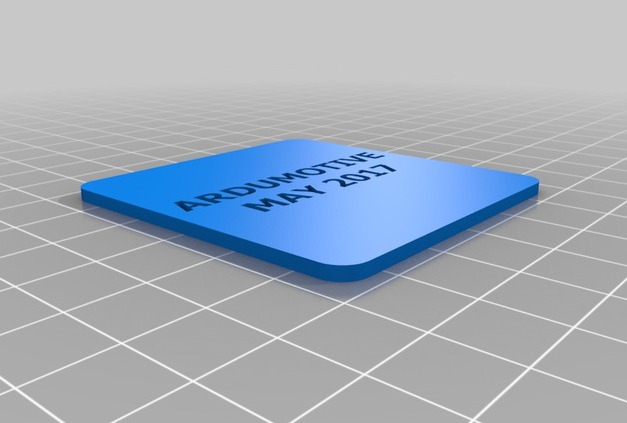
In this guide you will also find the .stl files of the 3d printed case/box. |
The DHT-22 (also named as AM2302) is a digital-output relative humidity and temperature sensor. It uses a capacitive humidity sensor and a thermistor to measure the surrounding air, and spits out a digital signal on the data pin.
The DHT22 is a basic, low-cost digital temperature and humidity sensor. It uses a capacitive humidity sensor and a thermistor to measure the surrounding air, and spits out a digital signal on the data pin (no analog input pins needed).
Technical details:
The DHT22 is a basic, low-cost digital temperature and humidity sensor. It uses a capacitive humidity sensor and a thermistor to measure the surrounding air, and spits out a digital signal on the data pin (no analog input pins needed).
Technical details:
- Power: 3-5V
- Max Current: 2.5mA
- Humidity: 0-100%, 2-5% accuracy
- Temperature: -40 to 80°C, ±0.5°C accuracy
What you will need - Hardware
You will also need 4x 3mm screws and glue.
3D Printer Files
You can download the .stl 3D files from here.
The circuit
The circuit is very simple, follow the steps below:
DHT-22:
LCD Screen
USB cable:
Cut it and find the + and - cables. Use a voltometer or multimeter tool. Finally make the connection:
+ cable to Button switch and then to Arduino Pro Mini Vcc pin
- cable to Arduino Pro mini GND pin
DHT-22:
- Vcc to Arduino Pro mini Vcc (or 5V)
- GNG to GND
- Analog signal to Arduino pin 10
LCD Screen
- Vcc to Arduino Pro mini Vcc (or 5V)
- GND to Arduino Pro mini GND
- CS to Arduino pin 4
- RST to Arduino pin 3
- DC to Arduino pin 5
- DN to Arduino pin 6
- SCLK to Arduino pin 7
- BL to Vcc - 5V
USB cable:
Cut it and find the + and - cables. Use a voltometer or multimeter tool. Finally make the connection:
+ cable to Button switch and then to Arduino Pro Mini Vcc pin
- cable to Arduino Pro mini GND pin
The code
1 2 3 4 5 6 7 8 9 10 11 12 13 14 15 16 17 18 19 20 21 22 23 24 25 26 27 28 29 30 31 32 33 34 35 36 37 38 39 40 41 42 43 44 45 46 47 48 49 50 51 52 53 54 55 56 57 58 59 60 61 62 63 64 65 66 67 68 69 70 71 72 73 74 75 76 77 78 79 80 81 82 83 84 85 86 87 88 89 90 91 92 93 94 95 96 97 98 99 100 101 102 103 104 105 106 107 108 109 110 111 112 113 | /* Arduino 3D printed Digital Thermometer using nokia 5110 screen and DHT-22 sensor Ver. 1.0 / Date:21/5/2017 */ //Include libraries #include <SPI.h> #include <Wire.h> #include <Adafruit_GFX.h> //for graphics #include <Adafruit_PCD8544.h> //for Nokia 5110 lcd #include <dht.h> dht DHT; //Constants #define DHT22_PIN 10 // DHT 22 (AM2302) - what pin we're connected to //Init Display (SCLK, DIN, D/C, CS, RST) Adafruit_PCD8544 display = Adafruit_PCD8544(7, 6, 5, 4, 3); //Variables int hum; //Stores humidity value int temp; //Stores temperature value int maxTemp=0; int minTemp=100; int maxHum=00; int minHum=100; void setup() { Wire.begin(); display.begin(); display.setContrast(45); //Print a welcome message in startup for 6sec.////////// display.clearDisplay(); // clears the screen and buffer display.setTextColor(BLACK); display.setCursor(0,2); display.print(" ARDUMOTIVE "); display.setCursor(0,13); display.print(" ArduinoBased "); display.setCursor(0,23); display.print(" Digital "); display.setCursor(0,33); display.print(" Thermometer "); display.display(); // show splashscreen delay(3000); ///////////////////////////////////////////////////////// display.clearDisplay(); // clears the screen and buffer } void loop() { int chk = DHT.read22(DHT22_PIN); //Read data and store it to variables hum and temp hum = DHT.humidity; temp= DHT.temperature; if (temp>maxTemp){ maxTemp=temp; } if (temp<minTemp){ minTemp=temp; } if (hum>maxHum){ if (hum==100){ maxHum=99; } else{ maxHum=hum; } } if (hum<minHum){ if (hum==100){ minHum=99; } else{ minHum=hum; } } display.clearDisplay(); // clears the screen and buffer display.setCursor(0,0); display.setTextSize(1); display.println(" HUMIDITY "); display.println("-------------"); display.print("MAX "); display.print(maxHum); display.print(" MIN "); display.println(minHum); display.print(" "); display.setTextSize(3); display.print(hum); display.setTextSize(2); display.print("%"); display.display(); delay(5000); display.clearDisplay(); // clears the screen and buffer display.setCursor(0,0); display.setTextSize(1); display.println(" TEMPERATURE "); display.println("-------------"); display.print("MAX "); display.print(maxTemp); display.print(" MIN "); display.println(minTemp); display.print(" "); display.setTextSize(3); display.print(temp); display.setTextSize(2); display.print("oC"); display.display(); delay(5000); } |
|
Download the code from here and open it with Arduino IDE. Inside you will also find all necessary libraries.
|
| ||||||
Well Done!
Well...that's it!
I hope you liked this, let me know in the comments!
I hope you liked this, let me know in the comments!


