
|
Available Languages
|

|

|
Εισαγωγή
|
Published date: 25/8/2019
|
|
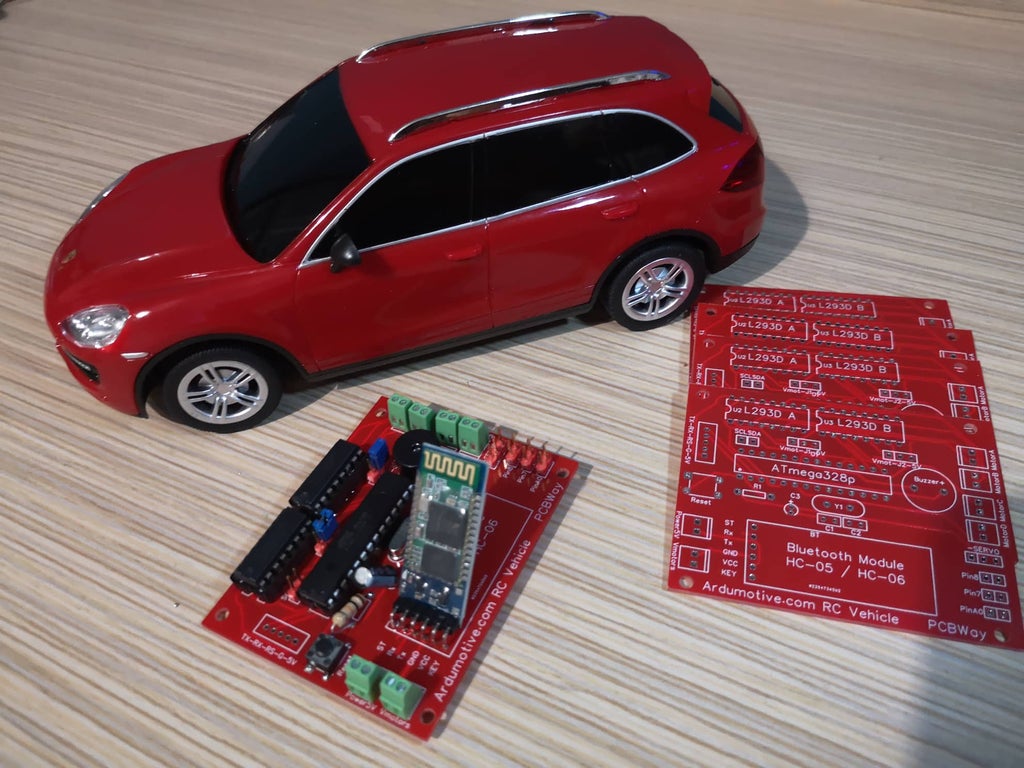
Σε αυτόν το tutorial θα φτιάξουμε ένα Bluetooth τηλεκατευθυνόμενο αυτοκινητάκι βασισμένο στον μικροελεγκτή του Arduino UNO ! Σχεδιάζοντας την δική μας PCB πλακέτα σας παρουσιάζουμε μία καινούργια έκδοση που μπορείτε και εσείς να υλοποιήσετε ακολουθώντας τον παρακάτω οδηγό .
Ας ξεκινήσουμε ! |
Τα υλικά που θα χρειαστούμε:
|
Στο συγκεκριμένο πρότζεκτ θα χρειαστούμε:
|
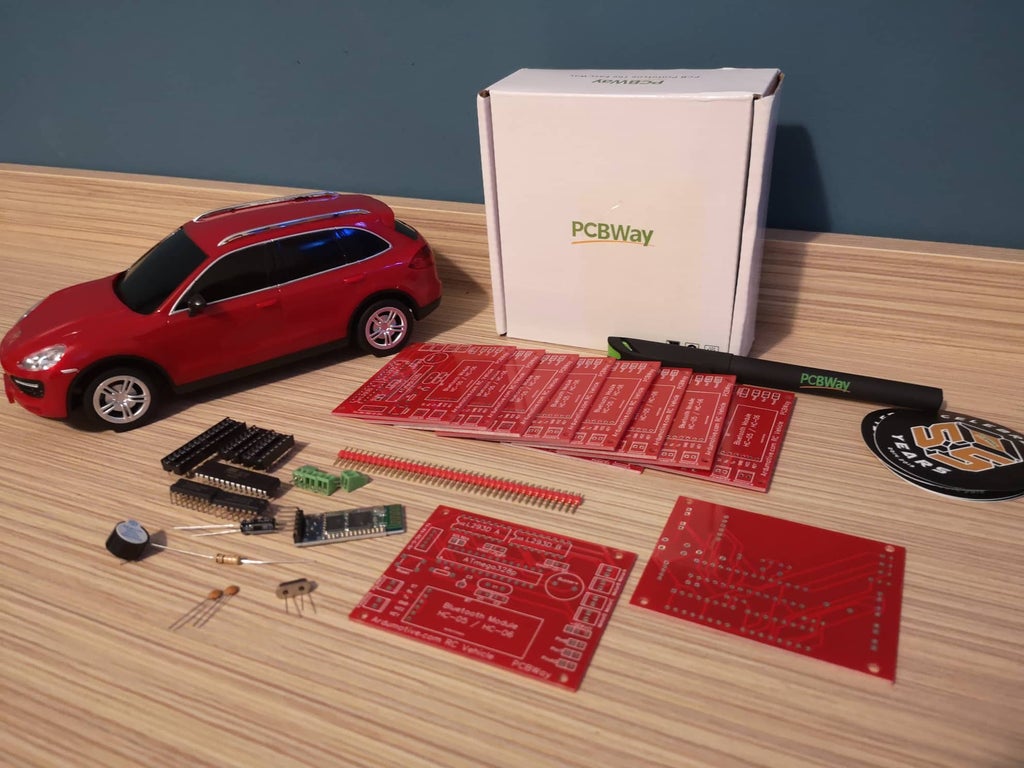
|
Επίσης θα χρειαστούμε ενα TTL to USB module ή ένα Arduino UNO για τον προγραμματισμό του.
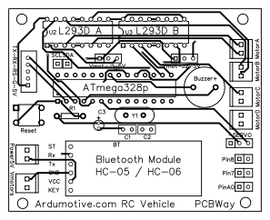
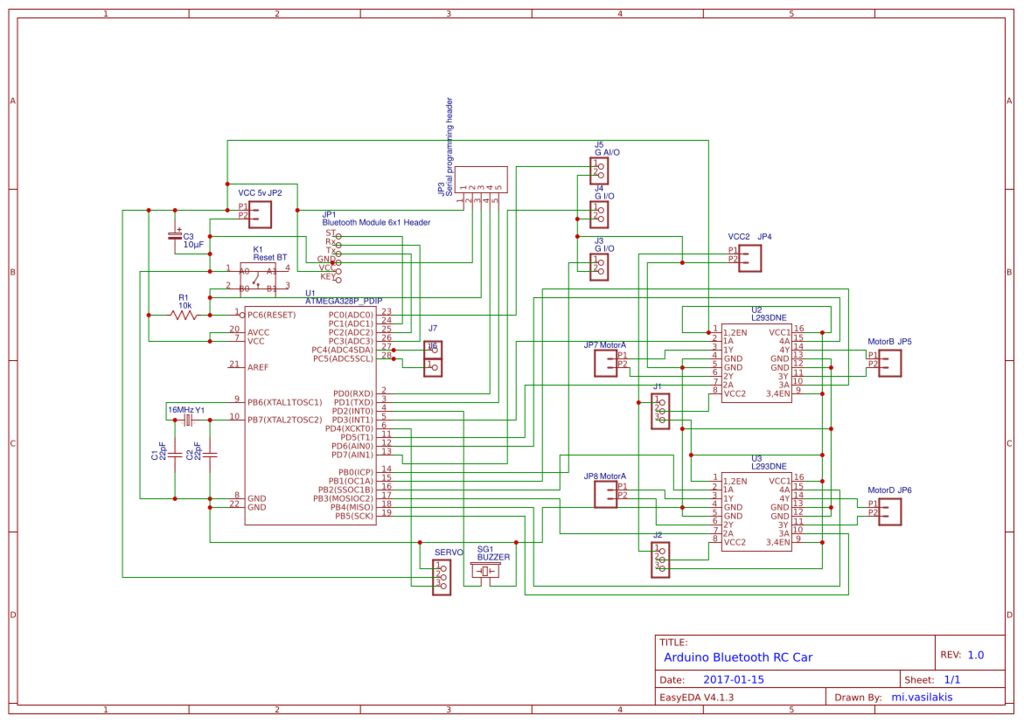
Σχηματικό κυκλώματος
|
|
|
|
Παράγγειλε τώρα από το pcbway.com και κέρδισε 10 πλακέτες δωρεάν (ισχύει για τα καινούργια μέλη). Οδηγίες για το πως μπορείτε να πάρετε τη δική σας πλακέτα θα βρείτε στο βίντεο που βρίσκεται στην αρχή.
Επίσης μπορείτε να κάνετε τις δικές σας αλλαγές κάνοντας κλικ εδώ. |
| schematic_files.zip |
Κώδικας
Συνδέουμε το TTL to USB module με το programming header όπως φαίνεται στο σχηματικό και περνάμε τον παρακάτω κώδικα.
1 2 3 4 5 6 7 8 9 10 11 12 13 14 15 16 17 18 19 20 21 22 23 24 25 26 27 28 29 30 31 32 33 34 35 36 37 38 39 40 41 42 43 44 45 46 47 48 49 50 51 52 53 54 55 56 57 58 59 60 61 62 63 64 65 66 67 68 69 70 71 72 73 74 75 76 77 78 79 80 81 82 83 84 85 86 87 88 89 90 91 92 93 94 95 96 97 98 99 100 101 102 103 104 105 106 107 108 109 110 111 112 113 114 115 116 117 118 119 120 121 122 123 124 125 126 127 128 129 130 131 132 133 134 135 136 137 138 139 140 141 142 143 | /* Arduino Bluetooth Car * Created by Vasilakis Michalis // updated: 31/7/2019 * More information at www.ardumotive.com */ #include <SoftwareSerial.h> //Software serial connection for bt module SoftwareSerial btSerial(A2,A3); // RX & TX //L293 Connection const int motorA1 = 5; // Pin 2 of L293 const int motorA2 = 3; // Pin 7 of L293 const int motorB1 = 11; // Pin 10 of L293 const int motorB2 = 10; // Pin 14 of L293 //Leds connected to Arduino UNO Pin 12 const int front_lights = 8; const int back_lights = 7; //Buzzer / Speaker to Arduino UNO Pin 3 const int buzzer = 2 ; //Useful Variables int i=0; int j=0; char state; void setup() { // Initialize serial communication at 9600 bits per second: btSerial.begin(9600); Serial.begin(9600); // Only for debugging // Set pins as outputs: pinMode(motorA1, OUTPUT); pinMode(motorA2, OUTPUT); pinMode(motorB1, OUTPUT); pinMode(motorB2, OUTPUT); pinMode(front_lights, OUTPUT); pinMode(back_lights, OUTPUT); delay(500); //Stop all motors digitalWrite(motorA1, LOW); digitalWrite(motorA2, LOW); digitalWrite(motorB1, LOW); digitalWrite(motorB2, LOW); } void loop() { //Save income data to variable 'state' if(btSerial.available() > 0){ state = btSerial.read(); Serial.println(state); } /***********************Forward****************************/ //If state is equal with letter 'F', car will go forward! if (state == 'F') { digitalWrite(motorA1, HIGH); digitalWrite(motorA2, 0); digitalWrite(motorB1, 0); digitalWrite(motorB2, 0); Serial.println("Moving Forward"); } /**********************Forward Left************************/ //If state is equal with letter 'G', car will go forward left else if (state == 'G') { digitalWrite(motorA1, HIGH); digitalWrite(motorA2, 0); digitalWrite(motorB1, HIGH); digitalWrite(motorB2, 0); Serial.println("Moving Forward Left"); } /**********************Forward Right************************/ //If state is equal with letter 'I', car will go forward right else if (state == 'I') { digitalWrite(motorA1, HIGH); digitalWrite(motorA2, 0); digitalWrite(motorB1, 0); digitalWrite(motorB2, HIGH); Serial.println("Moving Forward Right"); } /***********************Backward****************************/ //If state is equal with letter 'B', car will go backward else if (state == 'B') { digitalWrite(motorA1, 0); digitalWrite(motorA2, HIGH); digitalWrite(motorB1, 0); digitalWrite(motorB2, 0); Serial.println("Moving Backward"); } /**********************Backward Left************************/ //If state is equal with letter 'H', car will go backward left else if (state == 'H') { digitalWrite(motorA1, 0); digitalWrite(motorA2, HIGH); digitalWrite(motorB1, HIGH); digitalWrite(motorB2, 0); Serial.println("Moving Backward Left"); } /**********************Backward Right************************/ //If state is equal with letter 'J', car will go backward right else if (state == 'J') { digitalWrite(motorA1, 0); digitalWrite(motorA2, HIGH); digitalWrite(motorB1, 0); digitalWrite(motorB2, HIGH); Serial.println("Moving Backward Right"); } /***************************Left*****************************/ //If state is equal with letter 'L', wheels will turn left else if (state == 'L') { digitalWrite(motorA1, 0); digitalWrite(motorA2, 0); digitalWrite(motorB1, HIGH); digitalWrite(motorB2, 0); Serial.println("Turn Left"); } /***************************Right*****************************/ //If state is equal with letter 'R', wheels will turn right else if (state == 'R') { digitalWrite(motorA1, 0); digitalWrite(motorA2, 0); digitalWrite(motorB1, 0); digitalWrite(motorB2, HIGH); Serial.println("Turn Right"); } /************************Lights*****************************/ //If state is equal with letter 'W/w', turn front leds on or of off else if (state == 'W') { digitalWrite(front_lights, HIGH); Serial.println("Turning front lights ON"); } else if (state == 'w') { digitalWrite(front_lights, LOW); Serial.println("Turning front lights OFF"); } /************************Lights*****************************/ //If state is equal with letter 'U/u', turn back leds on or of off else if (state == 'U') { digitalWrite(back_lights, HIGH); Serial.println("Turning rear lights ON"); } else if (state == 'u') { digitalWrite(back_lights, LOW); Serial.println("Turning rear lights OFF"); } /**********************Horn sound***************************/ //If state is equal with letter 'V', play (or stop) horn sound else if (state == 'V'){ tone(buzzer,500); Serial.println("Playing horn sound"); } else if (state == 'v'){ noTone(buzzer); Serial.println("Stop playing horn sound"); } /************************Stop*****************************/ //If state is equal with letter 'S', stop the car else if (state == 'S'){ digitalWrite(motorA1, 0); digitalWrite(motorA2, 0); digitalWrite(motorB1, 0); digitalWrite(motorB2, 0); Serial.println("STOP"); } } |
|
Κατεβάστε τον κώδικα απ' εδώ και ανοίξτε το αρχείο με το Arduino IDE.
|
| ||
Android Εφαρμογή
|
|
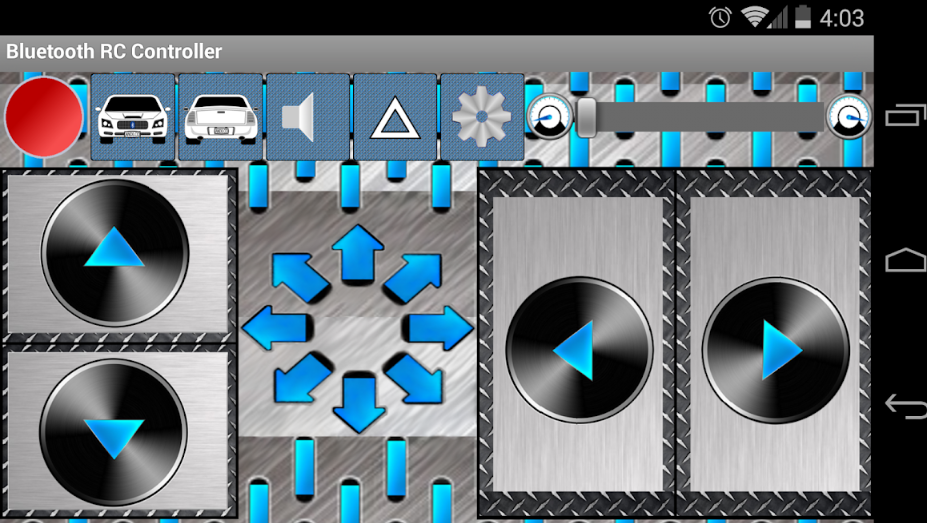
Για να ελέγξετε το αυτοκινητάκι με το Android κινητό σας αυτό που έχετε να κάνετε είναι να μπείτε στο Playstore ή να πατήσετε στον παρακάτω σύνδεσμο και να κατεβάσετε αυτή την φανταστική εφαρμογή. Ευχαριστούμε θερμά τον δημιουργό της, Andi.Co για την κοινοποίηση .
https://play.google.com/store/apps/details?id=braulio.calle.bluetoothRCcontroller
Αρχικά ενεργοποιήστε το Bluetooth του κινητού ή tablet σας και συνδέστε το με το αυτοκινητάκι σας (π.χ. HC-06, κωδικός 1234).
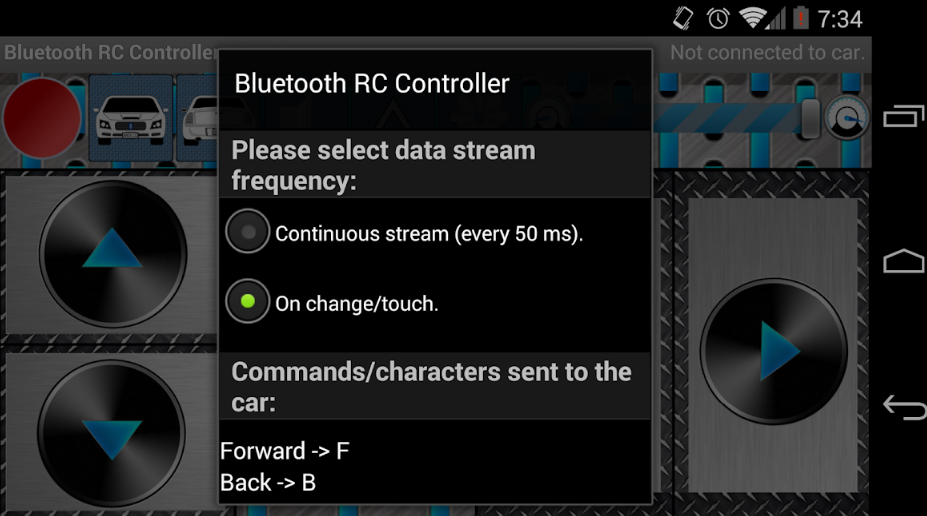
Πατήστε το Help & Info για να καταλάβετε πως λειτουργεί.
Υποστηριζόμενες λειτουργίες:
https://play.google.com/store/apps/details?id=braulio.calle.bluetoothRCcontroller
Αρχικά ενεργοποιήστε το Bluetooth του κινητού ή tablet σας και συνδέστε το με το αυτοκινητάκι σας (π.χ. HC-06, κωδικός 1234).
Πατήστε το Help & Info για να καταλάβετε πως λειτουργεί.
Υποστηριζόμενες λειτουργίες:
- 8 κουμπιά κατεύθυνσης
- Κόρνα
- Μπροστινά φώτα
- Πίσω φώτα
Συγχαρητήρια !

Αυτό ήταν ! Ελπίζουμε να σας φάνηκε εύκολο και θα χαρούμε πολύ να δούμε τις δικές δημιουργίες στα σχόλια .


