Εισαγωγή
|
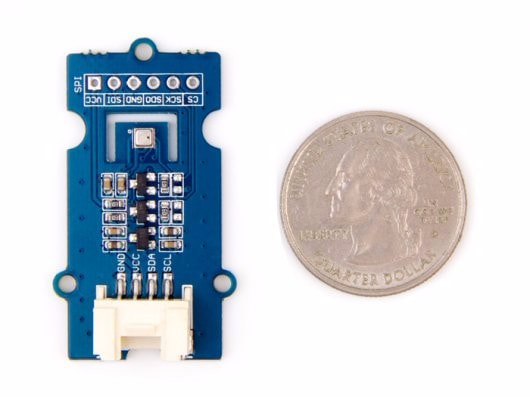
Ο βαρομετρικός αισθητήρας μπορεί να χρησιμοποιηθεί για ακριβή και γρήγορη μέτρηση της θερμοκρασίας, της ατμοσφαιρικής πίεσης και της υγρασίας. Καθώς η ατμοσφαιρική πίεση αλλάζει με το υψόμετρο, μπορεί επίσης να μετρήσει το κατά προσέγγιση υψόμετρο ενός τόπου. Μπορεί να συνδεθεί σε μικροελεγκτή με I2C .
|
Τα υλικά που θα χρειαστείτε και η σύνδεση
Για το tutorial αυτό θα χρειαστείτε:
- Arduino UNO
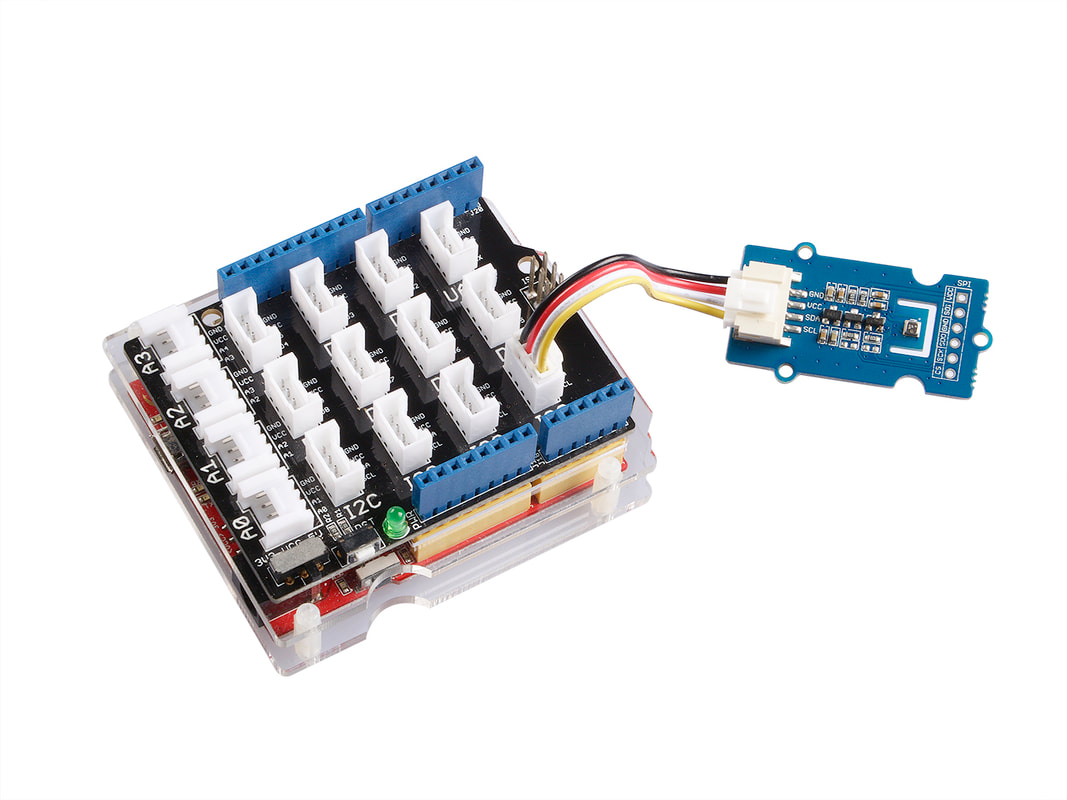
- Grove Base Shield
- Barometer Sensor (BME 280)
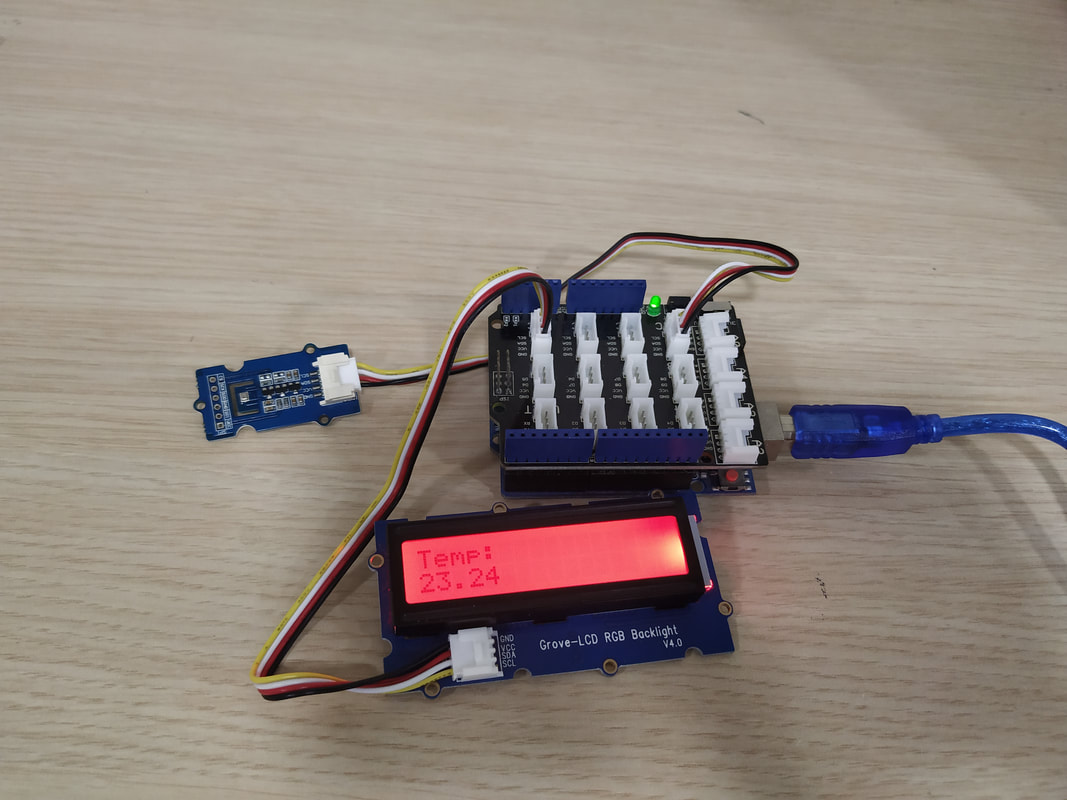
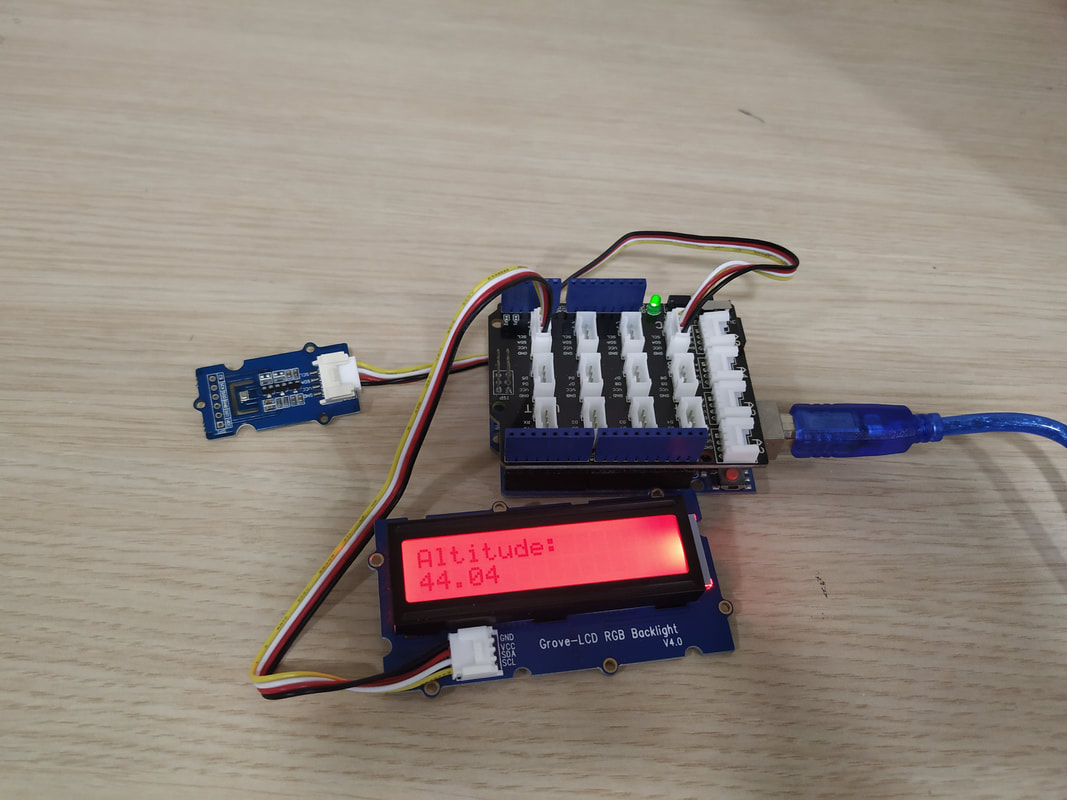
- LCD RGB Backlight (Συνδέστε το Grove-LCD RGB Backlight στην I2C είσοδο του Grove-Base Shield)
Ο κώδικας
1 2 3 4 5 6 7 8 9 10 11 12 13 14 15 16 17 18 19 20 21 22 23 24 25 26 27 28 29 30 31 32 33 34 35 36 37 38 39 40 41 42 43 44 45 46 47 48 49 50 51 52 53 54 55 56 57 58 59 60 61 62 63 64 65 66 67 68 69 70 71 72 73 74 75 76 77 78 79 80 81 | /* * bmp280_example.ino * Example sketch for BMP280 * * Copyright (c) 2016 seeed technology inc. * Website : www.seeedstudio.com * Author : Lambor, CHN * Create Time: * Change Log : * * The MIT License (MIT) * * Permission is hereby granted, free of charge, to any person obtaining a copy * of this software and associated documentation files (the "Software"), to deal * in the Software without restriction, including without limitation the rights * to use, copy, modify, merge, publish, distribute, sublicense, and/or sell * copies of the Software, and to permit persons to whom the Software is * furnished to do so, subject to the following conditions: * * The above copyright notice and this permission notice shall be included in * all copies or substantial portions of the Software. * * THE SOFTWARE IS PROVIDED "AS IS", WITHOUT WARRANTY OF ANY KIND, EXPRESS OR * IMPLIED, INCLUDING BUT NOT LIMITED TO THE WARRANTIES OF MERCHANTABILITY, * FITNESS FOR A PARTICULAR PURPOSE AND NONINFRINGEMENT. IN NO EVENT SHALL THE * AUTHORS OR COPYRIGHT HOLDERS BE LIABLE FOR ANY CLAIM, DAMAGES OR OTHER * LIABILITY, WHETHER IN AN ACTION OF CONTRACT, TORT OR OTHERWISE, ARISING FROM, * OUT OF OR IN CONNECTION WITH THE SOFTWARE OR THE USE OR OTHER DEALINGS IN * THE SOFTWARE. */ #include "Seeed_BMP280.h" #include <Wire.h> #include "rgb_lcd.h" BMP280 bmp280; rgb_lcd lcd; const int colorR = 250; const int colorG = 0; const int colorB = 0; void setup() { if(!bmp280.init()){ } // set up the LCD's number of columns and rows: lcd.begin(16, 2); lcd.setRGB(colorR, colorG, colorB); // Print a message to the LCD. lcd.print("Hello Ardumotive"); delay(1500); } void loop() { float pressure; //get and print temperatures lcd.clear(); lcd.setCursor(0,0); lcd.print("Temp: "); lcd.setCursor(0,1); lcd.print(bmp280.getTemperature()); delay(3000); //get and print atmospheric pressure data lcd.clear(); lcd.setCursor(0,0); lcd.print("Pressure: "); lcd.setCursor(0,1); lcd.print(pressure = bmp280.getPressure()); delay(3000); //get and print altitude data lcd.clear(); lcd.setCursor(0,0); lcd.print("Altitude: "); lcd.setCursor(0,1); lcd.print(bmp280.calcAltitude(pressure)); delay(3000); } |
|
Κατεβάστε τον κώδικα απ' εδώ και ανοίξτε το αρχείο με το Arduino IDE. Μέσα θα βρείτε και τις βιβλιοθήκες που χρησιμοποιήσαμε.
|
| ||||||
Συγχαρητήρια !
Μόλις ολοκλήρωσες άλλο ένα tutorial με το Grove !
Αν το έκανες και εσύ και σου φάνηκε εύκολο γράψε την άποψη σου κάτω στα σχόλια !
Αν το έκανες και εσύ και σου φάνηκε εύκολο γράψε την άποψη σου κάτω στα σχόλια !


