Introduction
|
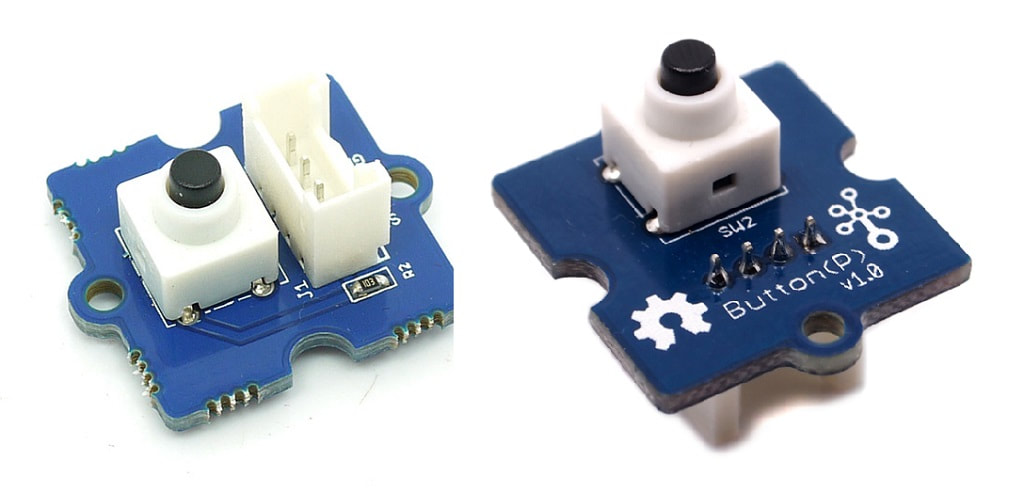
Grove - Button is a momentary push button. It contains one independent "momentary on/off" button. “Momentary” means that the button rebounds on its own after it is released. The button outputs a HIGH signal when pressed, and LOW when released. The Sig marked on silk layer stands for signal while NC stands for not used at all. There are two versions of this button available as showed in the pictures. The only difference is the direction of the Grove socket.
Features
|
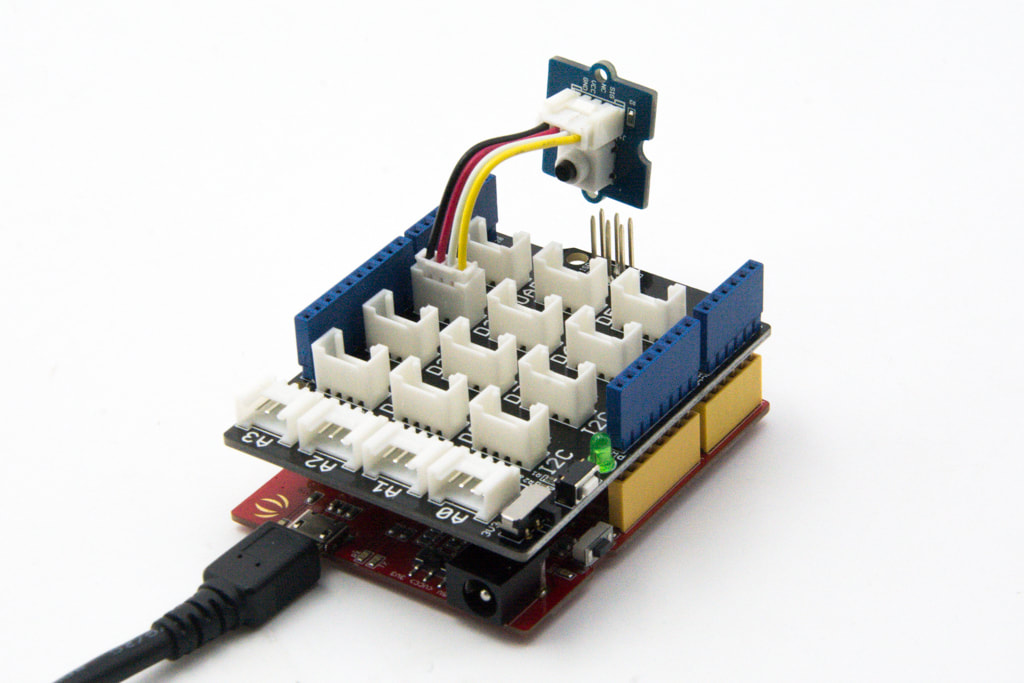
What we need and connection
For this tutorial we will need:
- Arduino UNO
- Grove Base Shield
- Button
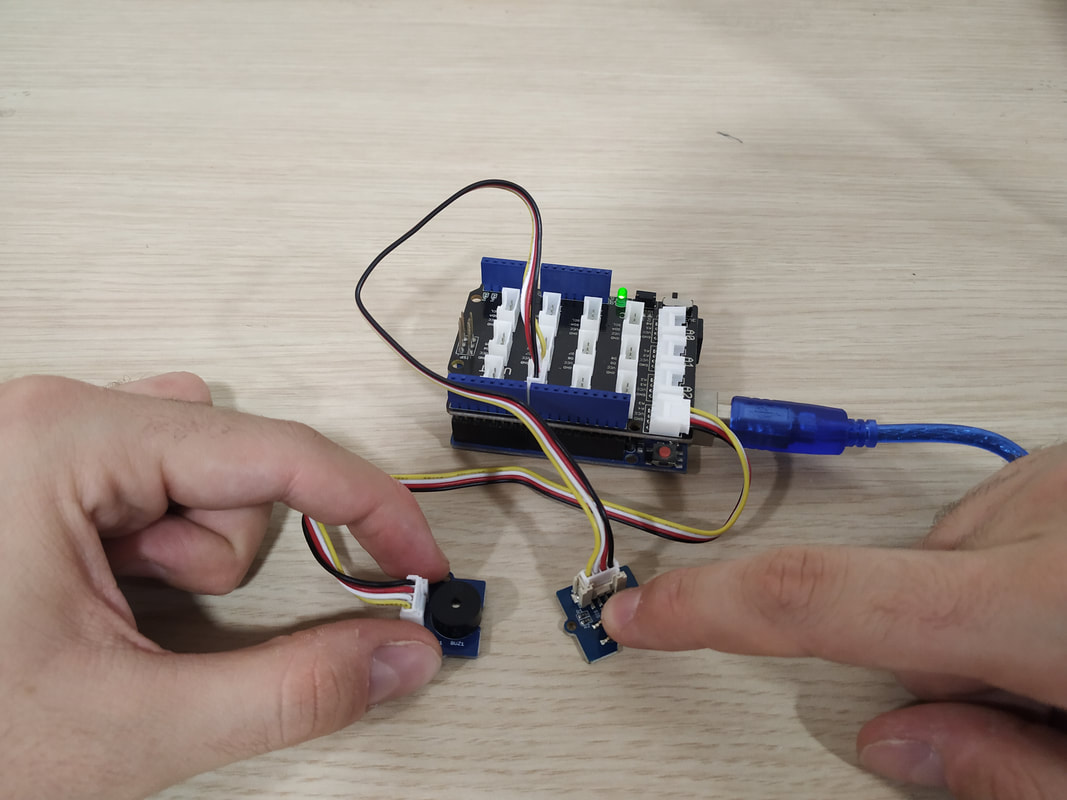
- Buzzer (Connect Grove-Buzzer to A3 port of Grove-Base Shield)
The code
1 2 3 4 5 6 7 8 9 10 11 12 13 14 15 16 17 18 19 20 21 22 23 | const int buttonPin = 2; const int buzzer = A3; // variables will change: int buttonState = 0; // variable for reading the pushbutton status void setup() { // initialize the LED pin as an output: pinMode(buzzer, OUTPUT); // initialize the pushbutton pin as an input: pinMode(buttonPin, INPUT); } void loop(){ // read the state of the pushbutton value: buttonState = digitalRead(buttonPin); if (buttonState == HIGH) { tone(buzzer, 1000); } else { noTone(buzzer); } } |
|
Download the code from here and open it with Arduino IDE.
|
| ||||||
Well done!
You have successfully completed one more Arduino Grove tutorial.
I hope you liked this, let me know in the comments.
I hope you liked this, let me know in the comments.


