28/10/2019
Introduction
|
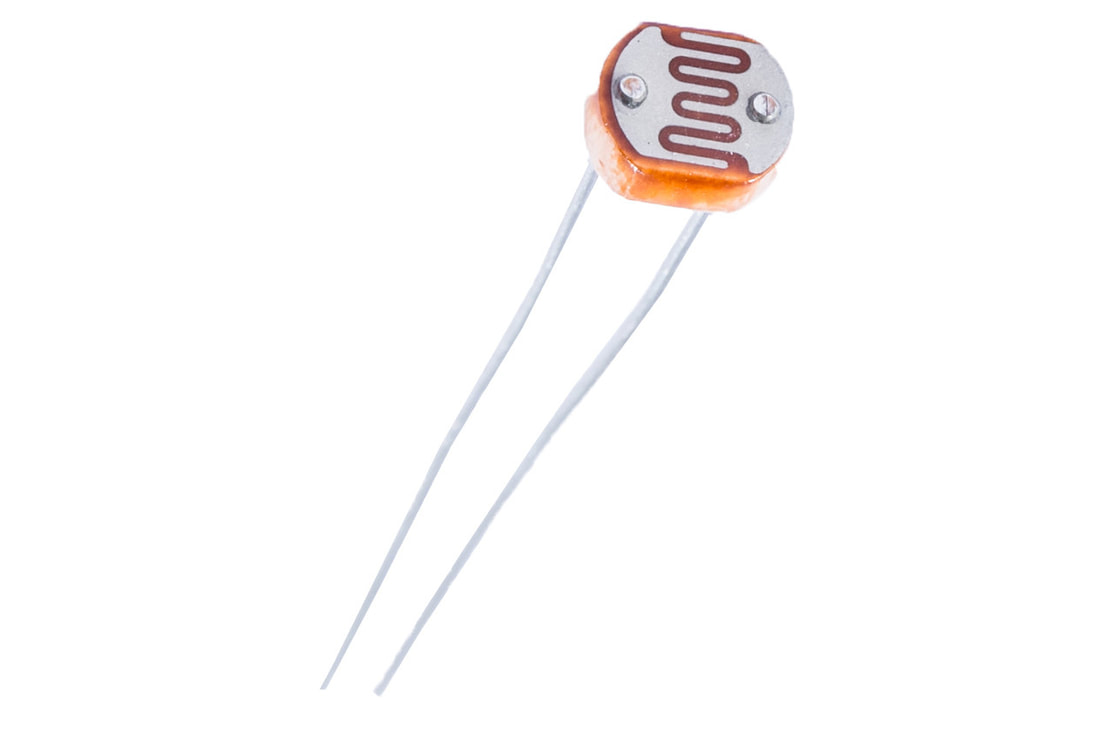
A photoresistor or photocell is a light-controlled variable resistor. The resistance of a photoresistor decreases with increasing incident light intensity. A photoresistor can be applied in light-sensitive detector circuits, and light- and dark-activated switching circuits. It's also called light-dependent resistor (LDR).
In this tutorial you will learn how to use a photoresistor with Raspberry PI. Let's get started! |
What you will need - Hardware
|
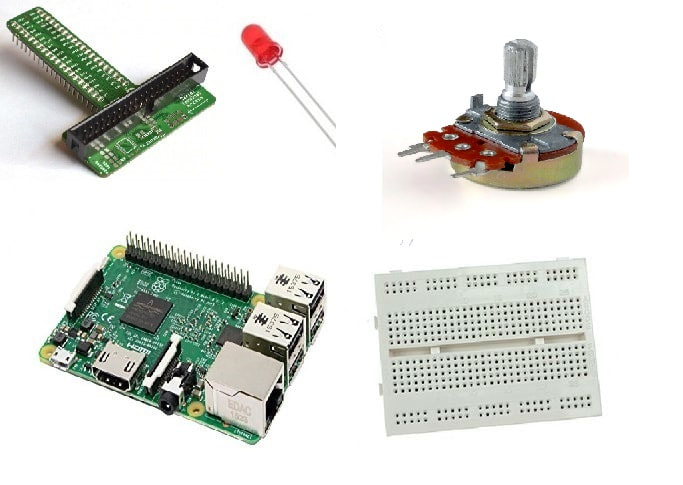
For this tutorial you will need:
|
The Circuit
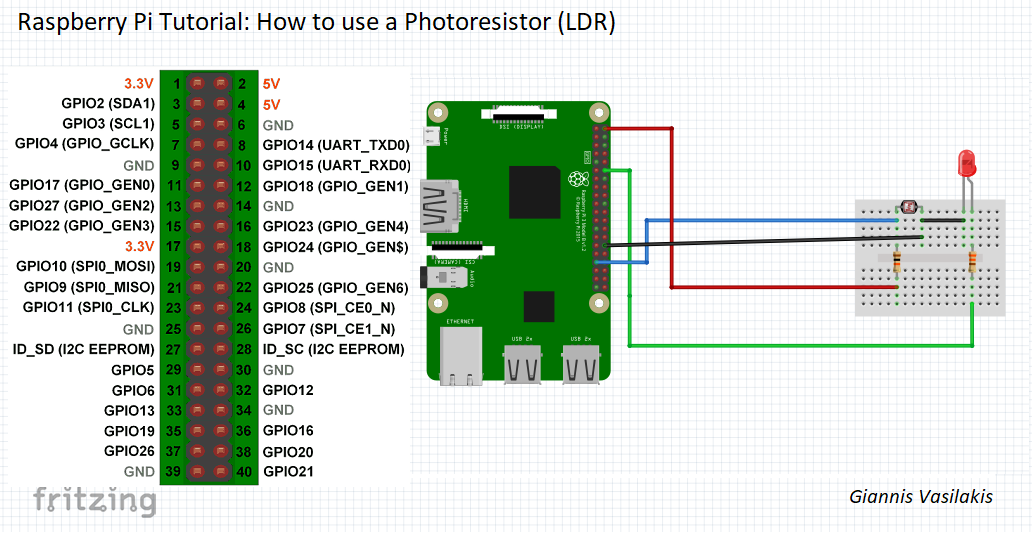
The connections are pretty easy, see the image above with breadboard circuit schematic.
The code
1 2 3 4 5 6 7 8 9 10 11 12 13 14 15 16 17 18 19 20 21 22 23 24 25 26 27 28 29 30 31 32 33 34 | #Libraries import RPi.GPIO as GPIO from time import sleep #Set warnings off (optional) GPIO.setwarnings(False) GPIO.setmode(GPIO.BCM) #Set Button and LED pins Button = 23 LED = 24 #Setup Button and LED GPIO.setup(Button,GPIO.IN,pull_up_down=GPIO.PUD_UP) GPIO.setup(LED,GPIO.OUT) #flag = 0 while True: button_state = GPIO.input(Button) print(button_state) if button_state == 0: GPIO.output(LED,GPIO.HIGH) else: GPIO.output(LED,GPIO.LOW) sleep(1) ''' if button_state==0: sleep(0.5) if flag==0: flag=1 else: flag=0 if flag==1: GPIO.output(LED,GPIO.HIGH) else: GPIO.output(LED,GPIO.LOW) ''' |
|
Download the code from here and open it with Thonny Python IDE or run it from terminal.
|
| ||||||
Well Done!
You have successfully completed our first Raspberry Pi "How to" tutorial and you learned how to use a photoresistor
I hope you liked this, let me know in the comments.


