
|
Available Languages
|

|

|
*Σύντομα και στα Ελληνικά
Introduction
In this tutorial you will learn how to use a single servo motor with Arduino. Servos can move to a position accurately, so they are ideal for embedded electronics applications.
Servos have integrated gears and a shaft that can be precisely controlled. Standard servos allow the shaft to be positioned at various angles, usually between 0 and 180 degrees. Continuous rotation servos allow the rotation of the shaft to be set to various speeds.
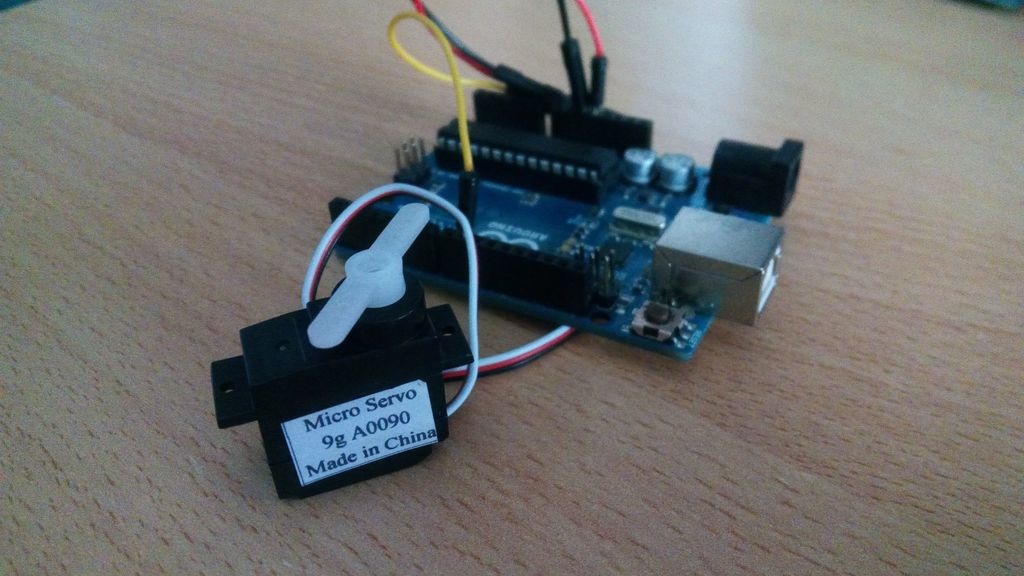
In this tutorial we will use a 'Micro Servo 9g'. This one is very small, but larger servos are used extensively in robotics to control mechanical arms, hands, etc. You could use it to make a (tiny) robot arm, aircraft control surface, or anywhere something needs to be moved to specific positions.
Servos have integrated gears and a shaft that can be precisely controlled. Standard servos allow the shaft to be positioned at various angles, usually between 0 and 180 degrees. Continuous rotation servos allow the rotation of the shaft to be set to various speeds.
In this tutorial we will use a 'Micro Servo 9g'. This one is very small, but larger servos are used extensively in robotics to control mechanical arms, hands, etc. You could use it to make a (tiny) robot arm, aircraft control surface, or anywhere something needs to be moved to specific positions.
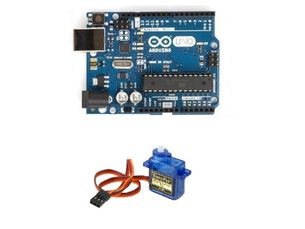
What you will need - Hardware
|
For this tutorial you will need:
|
|
The Circuit
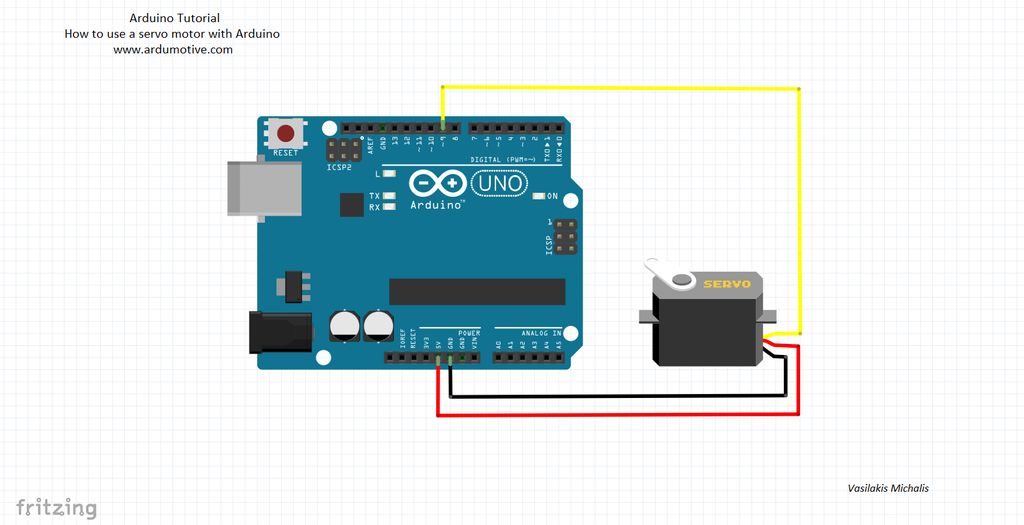
Servo motors have three wires: power, ground, and signal. The power wire is typically red, and should be connected to the 5V pin on the Arduino board. The ground wire is typically black or brown and should be connected to a ground pin on the Arduino board. The signal pin is typically yellow, orange or white and should be connected to a digital pin on the Arduino board.
The connections are pretty easy, see the image above with the breadboard circuit schematic.
Note: Servos draw considerable power, so if you need to drive a biger servo, you'll probably need to power it from a separate supply (not from 5V pin of Arduino). Be sure to connect the grounds of the Arduino and external power supply together!
The code
1 2 3 4 5 6 7 8 9 10 11 12 13 14 15 16 17 18 19 20 21 22 23 24 25 | #include <Servo.h> Servo myservo; // create servo object to control a servo // twelve servo objects can be created on most boards int pos = 0; // variable to store the servo position void setup() { myservo.attach(9); // attaches the servo on pin 9 to the servo object } void loop() { for(pos = 0; pos <= 180; pos += 1) // goes from 0 degrees to 180 degrees { // in steps of 1 degree myservo.write(pos); // tell servo to go to position in variable 'pos' delay(15); // waits 15ms for the servo to reach the position } for(pos = 180; pos>=0; pos-=1) // goes from 180 degrees to 0 degrees { myservo.write(pos); // tell servo to go to position in variable 'pos' delay(15); // waits 15ms for the servo to reach the position } } |
|
Download the code from here and open it with Arduino IDE.
|
| ||
You can make your own modifications to the code, for example, you can change the delay time and see how it changes the program.
Well done!
You have successfully completed one more "How to" tutorial and you learned how to use a servo motor with Arduino. I hope you liked this, let me know in the comments!


