Introduction
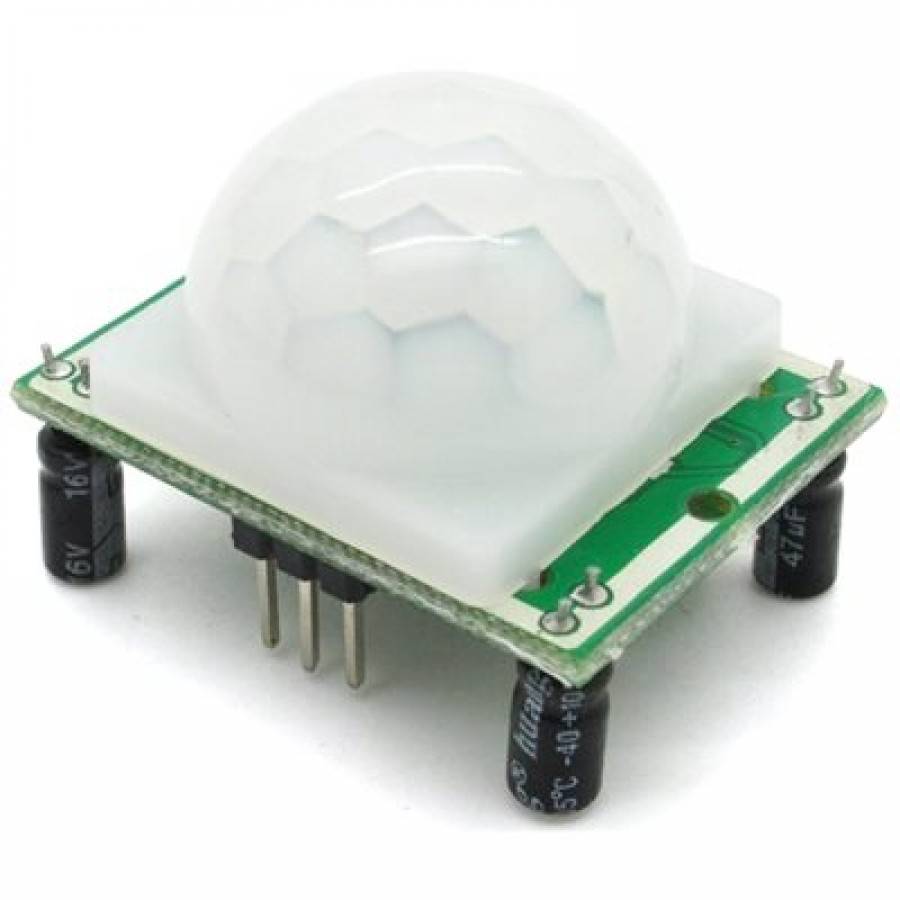
What you will need - HardwareFor this tutorial you will need: |
|
The Circuit
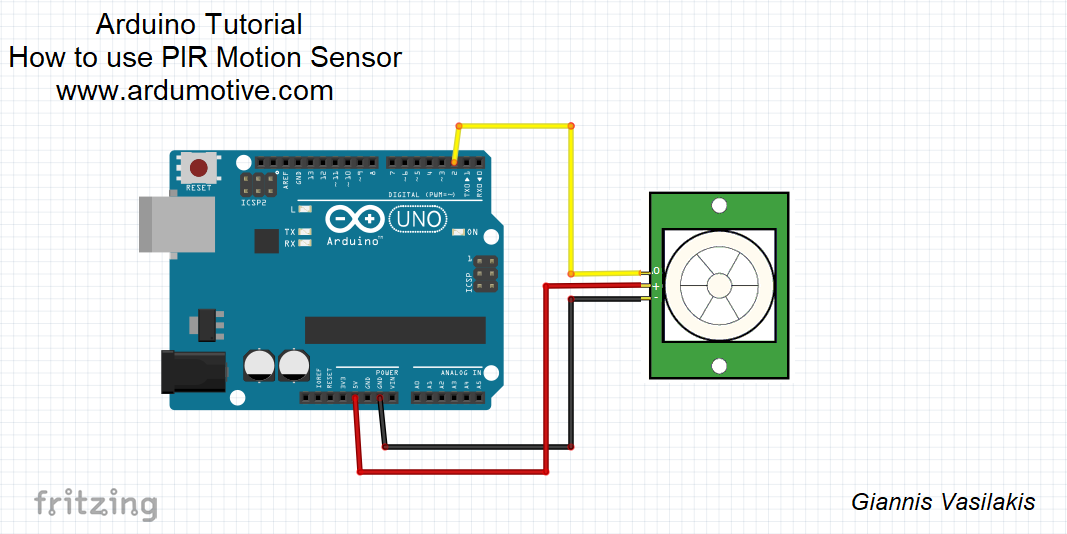
The connections are easy, see the image above with breadboard circuit schematic.
- Vcc pin to Arduino 5V Pin
- GND pin to Arduino GND
- Out pin to Arduino 2 Pin
The code
1 2 3 4 5 6 7 8 9 10 11 12 13 14 15 16 17 18 19 20 21 22 23 24 25 26 27 28 29 30 31 | /* * PIR sensor tester */ int inputPin = 2; // choose the input pin (for PIR sensor) int pirState = LOW; // we start, assuming no motion detected int val = 0; // variable for reading the pin status void setup() { pinMode(inputPin, INPUT); // declare sensor as input Serial.begin(9600); } void loop(){ val = digitalRead(inputPin); // read input value if (val == HIGH) { // check if the input is HIGH if (pirState == LOW) { // we have just turned on Serial.println("Motion detected!"); // We only want to print on the output change, not state pirState = HIGH; } } else { if (pirState == HIGH){ // we have just turned of Serial.println("Motion ended!"); // We only want to print on the output change, not state pirState = LOW; } } } |
|
Download the code from here and open it with Arduino IDE.
|
| ||||||
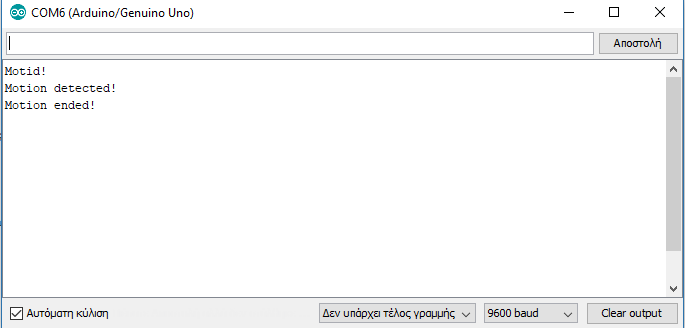
Serial Monitor
Well done!
You have successfully completed one more Arduino "How to use the PIR Motion Sensor "
I hope you liked this, let me know in the comments.
I hope you liked this, let me know in the comments.


