
8/11/2016
|
Available languages:
|

|

|
Rasbian OS
Raspbian is the Foundation’s official supported operating system and you can download it for free from the official Raspberry Pi page (click here).
You can also use and other operating systems, like Ubuntu Mate, Snappy Ubuntu Core, Windows 10 IOT version and many others that can by found here. Just keep in mind that we will cover only the official os in our tutorials. But, as a unix-linux base operating system we can tell that our tutorials will be compatible by Ubuntu (or other) version.
Let's get started!
Video in Greek language
What you will need
|
To get started with Raspberry Pi you will need:
Raspberry Pi 3 Model B Micro sd card at least 8GB, we recommend 16GB class 10 HDMI cable Power supply 5V - 2A |
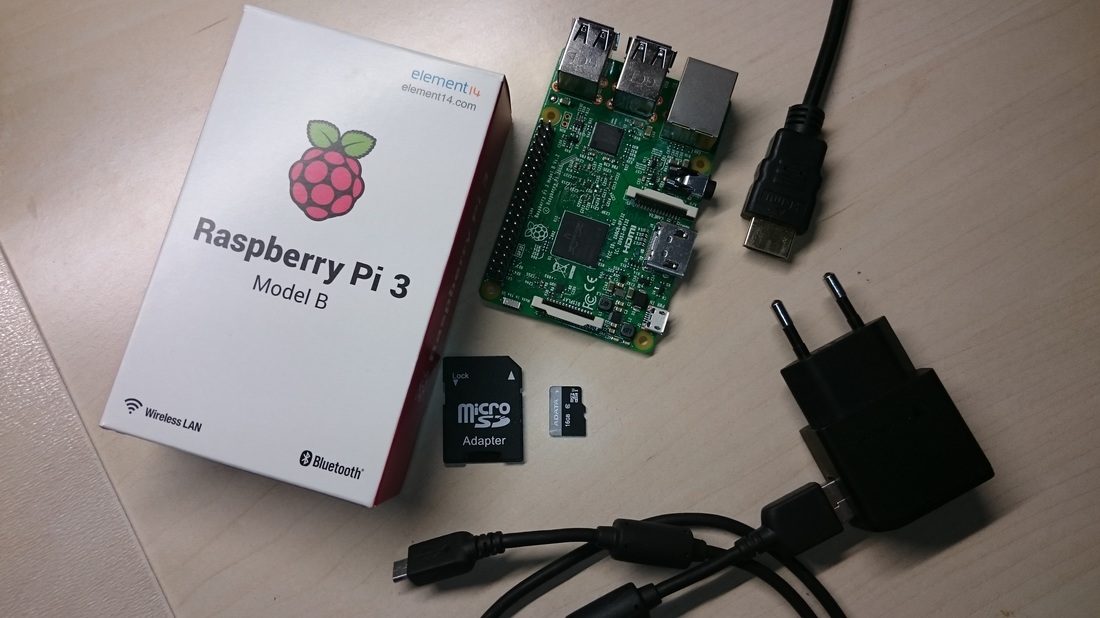
|
You will also need an USB keyboard and mouse. I am using this set, it's small, comfortable and of course plug and play.
Write the OS image on SD card
|
You will need a computer with card reader for this process.
Insert you sd card in your card reader. Keep in mind that if you have any files on it thy will be lost, so make a backup first! |
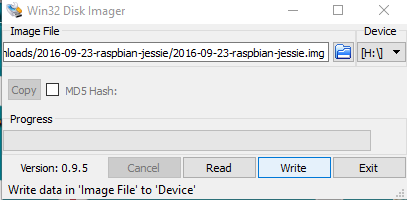
Step by step guide to burn the image in Windows OS computer with Win32DiskImager (download it and install it from here).
- Download the Raspbian OS and extract the .img file to your desktop
- Right click on Win32DiskImager icon, click on "Run as Administrator"
- Press the blue folder icon and select the raspbian .img file from your desktop
- Click the "Write" button
Connection and first run
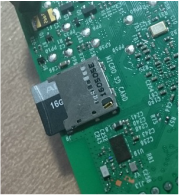
Put the micro sd card with Rasbian OS into the sd-card RPi slot, connect it with your monitor with the HDMI cable and power it up. Note, you must fist connect it with your monitor/tv and then power it up.
If your monitor/tv don't have an HDMI port, you can use this HDMI to VGA adapter cable. In this case you must edit the config.txt file with your screen resolution. To do this, put the sd card back to your computer, open the boot partition and open with notepad (or notepad ++) the config.txt file. Search for the following lines:
If your monitor/tv don't have an HDMI port, you can use this HDMI to VGA adapter cable. In this case you must edit the config.txt file with your screen resolution. To do this, put the sd card back to your computer, open the boot partition and open with notepad (or notepad ++) the config.txt file. Search for the following lines:
# uncomment to force a specific HDMI mode (this will force VGA)
#hdmi_group=1
#hdmi_mode=1
Delete the "#" symbol from hdmi_group and hdmi_mode and change there values by following this guide.
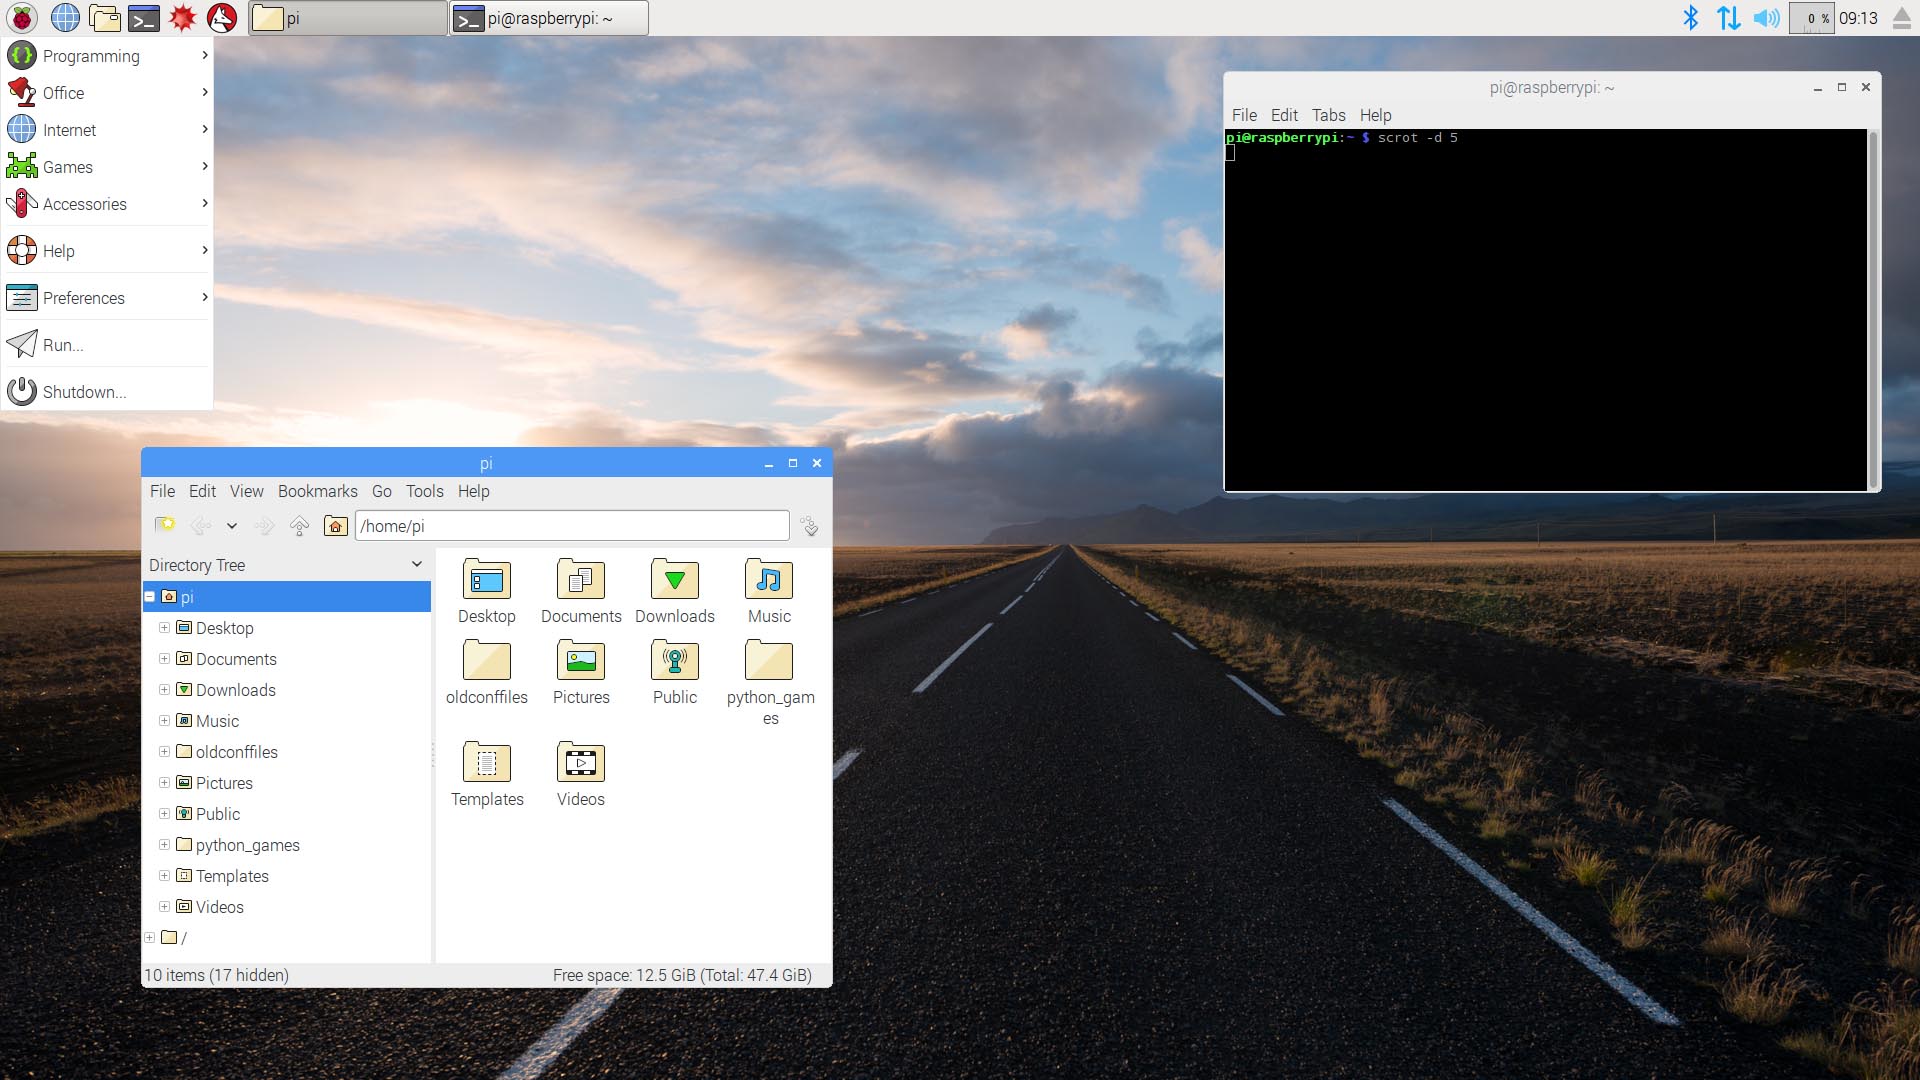
After a while the boot process will be completed. You are now free to play with your new mini computer. Take a look of it, connect with your WiFi and explore it, it's really amazing!
If you want to power it off, click the Raspberry icon on the upper left corner and select Shutdown. If you want to power it up again just unplug and plug the power adapter, unfortunately the RPi board doesn't have a power switch.
If you want to power it off, click the Raspberry icon on the upper left corner and select Shutdown. If you want to power it up again just unplug and plug the power adapter, unfortunately the RPi board doesn't have a power switch.


