
|
Available Languages
|

|

|
Introduction
|
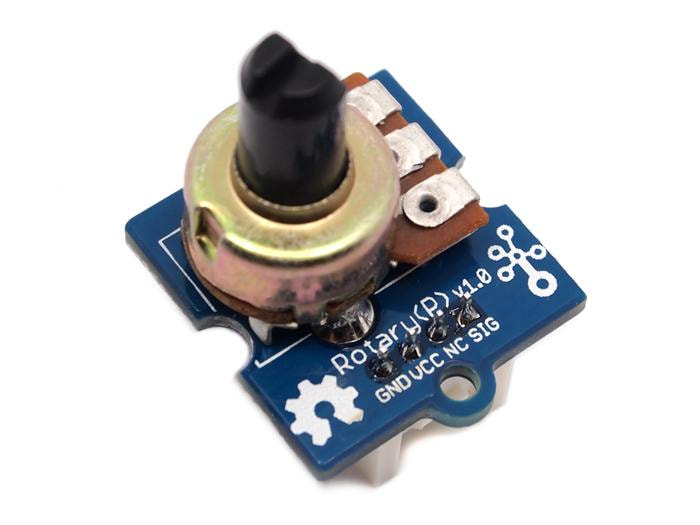
The rotary angle sensor produces analog output between 0 and Vcc (5V DC with Seeeduino) on its D1 connector. The D2 connector is not used. The angular range is 300 degrees with a linear change in value. The resistance value is 10k ohms, perfect for Arduino use. This may also be known as a “potentiometer ”. There is another product, Grove - Rotary Angle Sensor(P). What does “P” mean? “P” is for “panel mount” in this product.It is the sister version of Grove - Rotary Angle Sensor. They are identical except the Grove connecter is moved to the back so that you can easily use it as a neat and wire-free human interface device.
|
What we need and connection
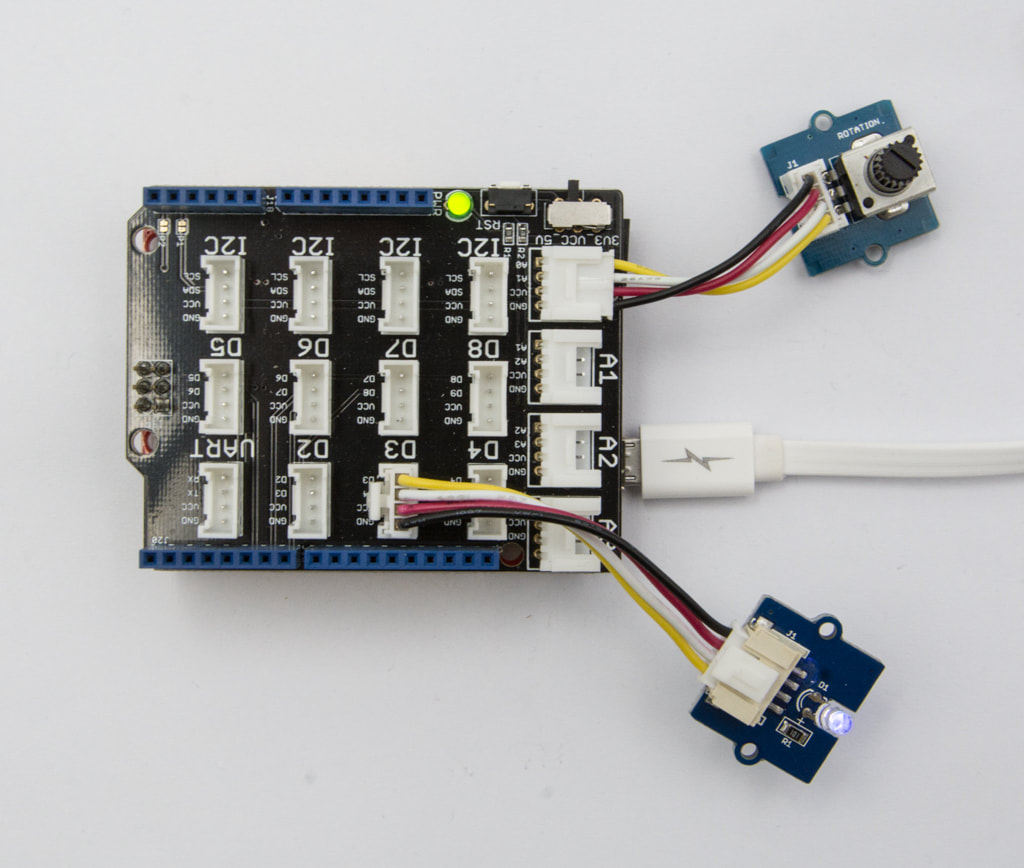
For this tutorial we will need:
- Arduino UNO
- Grove Base Shield
- Rotary Angle Sensor
- LED (Connect Grove-LED to D3 port of Grove-Base Shield)
|
|
The code
1 2 3 4 5 6 7 8 9 10 11 12 13 14 15 16 17 18 19 20 21 22 23 24 25 26 27 28 29 30 | /*macro definitions of Rotary angle sensor and LED pin*/ #define ROTARY_ANGLE_SENSOR A0 #define LED 3 //the Grove - LED is connected to PWM pin D3 of Arduino #define ADC_REF 5 //reference voltage of ADC is 5v.If the Vcc switch on the seeeduino //board switches to 3V3, the ADC_REF should be 3.3 #define GROVE_VCC 5 //VCC of the grove interface is normally 5v #define FULL_ANGLE 300 //full value of the rotary angle is 300 degrees void setup() { Serial.begin(9600); pinMode(ROTARY_ANGLE_SENSOR, INPUT); pinMode(LED,OUTPUT); } void loop() { float voltage; int sensor_value = analogRead(ROTARY_ANGLE_SENSOR); voltage = (float)sensor_value*ADC_REF/1023; float degrees = (voltage*FULL_ANGLE)/GROVE_VCC; Serial.println("The angle between the mark and the starting position:"); Serial.println(degrees); int brightness; brightness = map(degrees, 0, FULL_ANGLE, 0, 255); analogWrite(LED,brightness); delay(500); } |
|
Download the code from here and open it with Arduino IDE.
|
| ||
Well done!
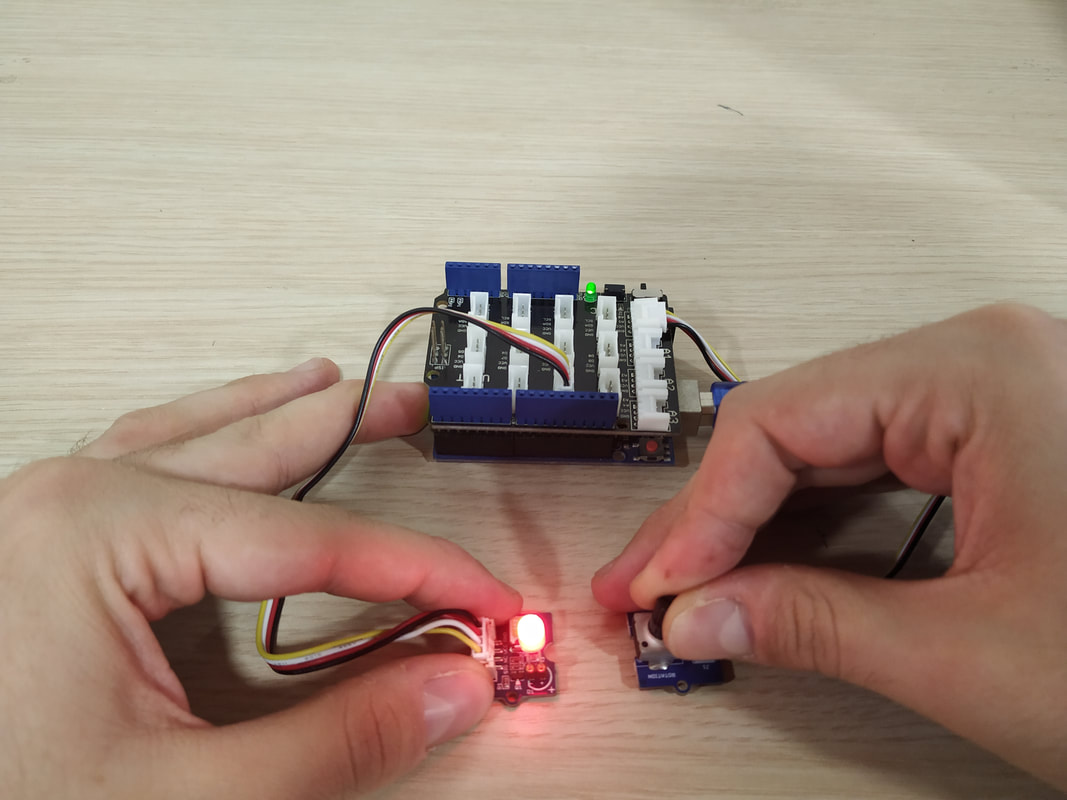
You have successfully completed one more Arduino Grove tutorial.
I hope you liked this, let me know in the comments.
I hope you liked this, let me know in the comments.