
|
Available Languages
|

|

|
Εισαγωγή
|
Published date: 26/2/2018
|
|
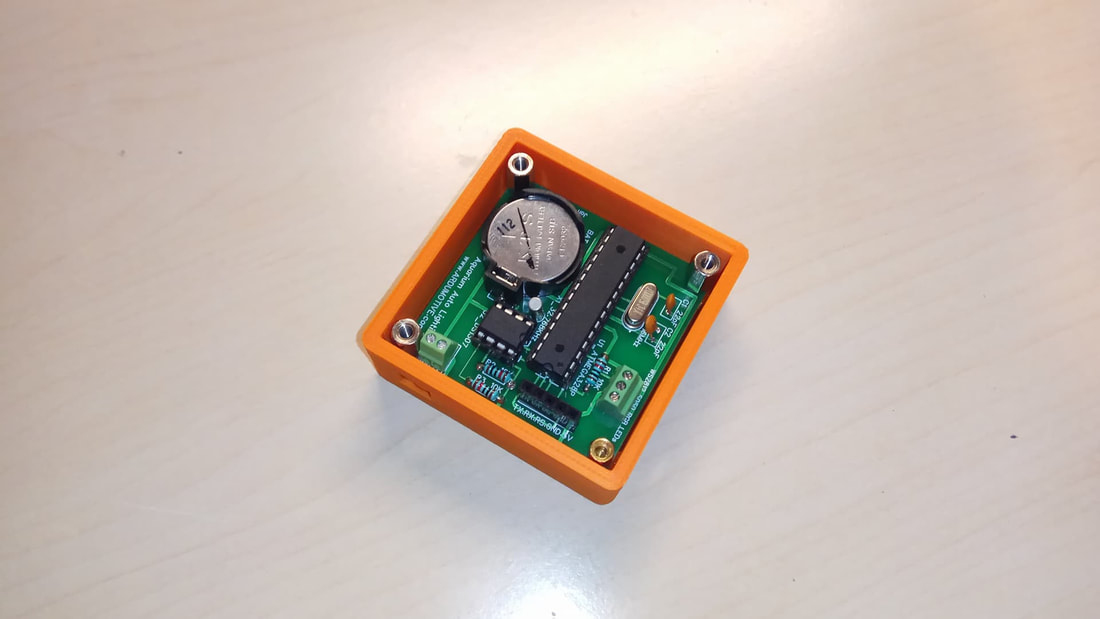
Σε αυτόν τον οδηγό θα φτιάξουμε το δικό μας αυτόματο σύστημα φωτισμού για το μικρό ενυδρίο μας. Για το project αυτό αποφασήσαμε να φτιάξουμε την δική μας πλακέτα PCB η οποία είναι βασισμένη στο Arduino UNO και στον μικροελεγκτή ATmega328.
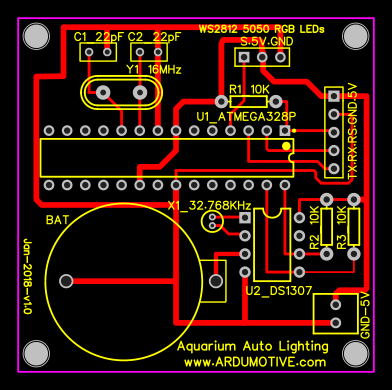
Παρακάτω θα βρείτε το ηλεκτρονικό κύκλωμα με το PCB layout ώστε να μπορέσετε να το φτιάξετε και εσείς εύκολα. |
Η τρέχουσα ώρα μπορεί να ρυθμιστεί τη πρώτη φορά (ή αν τελειώσει η μικρή στρογγυλή μπαταρία) μέσω της σειριακής οθόνης. Μπορείτε να αλλάξετε την ώρα αλλαγής του φωτισμού καθώς και το χρώμα μέσα από τον κώδικα. Δείτε στο παρακάτω βίντεο πως λειτουργεί το σύστημα.
Τα υλικά που θα χρειαστούμε:
|
Στο συγκεκριμένο πρότζεκτ θα χρειαστούμε:
|
|
Επίσης θα χρειαστούμε ενα TTL to USB module ή ένα Arduino UNO για τον προγραμματισμό του.
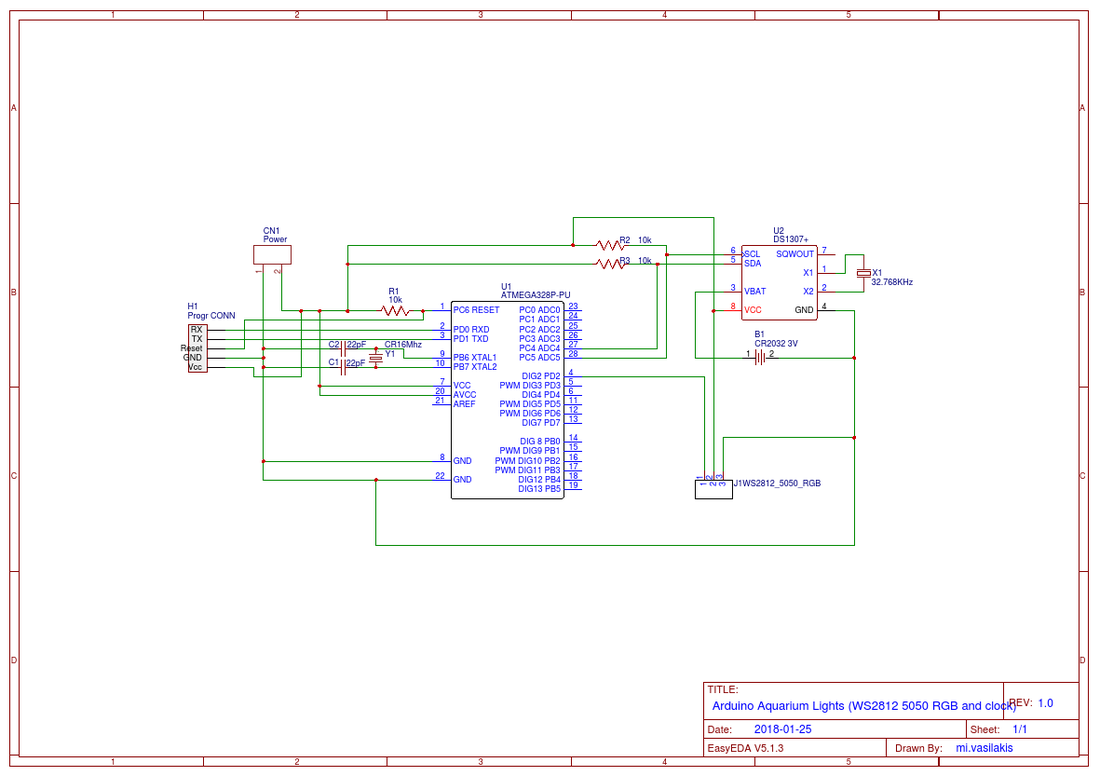
Το κύκλωμα στο EasyEDA
|
Arduino Aquarium Auto Lighting System
|
|
|
Μπείτε εδώ για να δείτε και να κάνετε τις αλλαγές σας στο ηλεκτρονικό σχέδιο.
To EasyEDA είναι ένα δωρεάν εργαλείο σχεδίασης κυκλωμάτων το οποίο δεν απαιτεί καμία απολύτως εγκατάσταση απ' τον χρήστη, καθώς τρέχει online. Έχει σχεδιαστεί έτσι ώστε να μπορεί να δώσει μια πολύ πιο εύκολη εμπειρία χρήσης σε ηλεκτρονικούς μηχανικούς, διδάσκοντες, μαθητές αλλά και απλούς χρήστες, πάνω στην σχεδίαση ηλεκτρονικών κυκλωμάτων. Είναι πολύ εύκολο να σχεδιάσεις τα κυκλώματα σου μέσα απ' το circuit design, να τα προσομοιώσεις μέσα απ' το circuit simulator και τέλος να τα εξάγεις σε μορφή PCB έτοιμα προς εκτύπωση, και όλα αυτά μέσα απ' το παράθυρο του browser σου! |
Κώδικας
Συνδέουμε το TTL to USB module με το programming header όπως φαίνεται στο σχηματικό.
Σημείωση: Στην περίπτωση που χρησιμοποιείτε το Arduino UNO για τον προγραμματισμό του θα πρέπει να αφαιρέσετε τον ATmega328 και να συνδέσετε τα RX και TX pins του header στα RX και TX pins αντίστοιχα του UNO. Επίσης το RS pin θα πρέπει να συνδεθεί στο reset pin του Arduino.
Σημείωση: Στην περίπτωση που χρησιμοποιείτε το Arduino UNO για τον προγραμματισμό του θα πρέπει να αφαιρέσετε τον ATmega328 και να συνδέσετε τα RX και TX pins του header στα RX και TX pins αντίστοιχα του UNO. Επίσης το RS pin θα πρέπει να συνδεθεί στο reset pin του Arduino.
1 2 3 4 5 6 7 8 9 10 11 12 13 14 15 16 17 18 19 20 21 22 23 24 25 26 27 28 29 30 31 32 33 34 35 36 37 38 39 40 41 42 43 44 45 46 47 48 49 50 51 52 53 54 55 56 57 58 59 60 61 62 63 64 65 66 67 68 69 70 71 72 73 74 75 76 77 78 79 80 81 82 83 84 85 86 87 88 89 90 91 92 93 94 95 96 97 98 99 100 101 102 103 104 105 106 107 108 109 110 111 112 113 114 115 116 117 118 119 120 121 122 123 124 125 126 127 128 129 130 131 132 133 134 135 136 137 138 139 140 141 142 143 144 | /* Arduino based - Aquarium Auto Lighing System * More info can be found at: http://www.ardumotive.com * Dev:Michalis Vasilakis Date:21/2/2018 Var:1.0 */ //Libraries (many thanks to Developers) #include <Adafruit_NeoPixel.h> #include <RTClib.h> //Constants const int DIN = 2; //Neopixel DIN pin to Arduino Pin 2 const int PIXELS = 29; //How many neopixel leds do you have? RTC_DS1307 rtc; //Create an object for DS1307 I2C library Adafruit_NeoPixel pixels = Adafruit_NeoPixel(PIXELS, DIN, NEO_GRB + NEO_KHZ800); //Create an object for NeoPixel library //Variables; int H,M; //H for hour and M for minutes String Time; // Use readTime(); Serial.print(Time); for printing the time in serial monitor //Variables For color setting boolean newColor = false; int r=0; int g=0; int b=0; //Following variables are used for the time setting from serial monitor boolean newMessage = false; boolean messageCompleted = false; char incomingByte; String command; //Delay without delay() for fade unsigned long previousMillis = 0; const long interval = 250; //Change this value (ms) void setup() { pixels.begin(); //Initialize the NeoPixel library rtc.begin(); //Initialize the RTC DS1307 library Serial.begin(9600); //This will run only if the rtc battery is low or rtc ic has wrong time set if (! rtc.isrunning()) { Serial.println("RTC is NOT running!"); // This line sets the RTC with an explicit date & time, for example to set // January 1, 2018 at 00:00am you would call: rtc.adjust(DateTime(2018, 01, 01, 00, 00, 0)); } Serial.println("Aquarium Auto Lighting System"); Serial.println("Visit the www.Ardumotive.com for more info \n"); readTime(); Serial.println(Time); Serial.println("- To set the time send '<SHH:MM>' (example: <S14:05>)"); } void loop() { setTime(); //Check for serial set command readTime(); //Change time and color values bellow if you want //From 00:00 to 07:00 if (H>=0 && H <7) { setColor(0,0,50); } //From 07:00 to 12:00 else if (H>=7 && H<12){ setColor(50,50,100); } else if( H>=12 && H<19){ setColor(180,180,180); } else if (H>=19 && H<21){ setColor(50,50,100); } } //Send color to led strip void setColor(int R,int G,int B){ while ((r!=R) || (g!=G) || (b!=B)){ setTime(); //Check for serial set command unsigned long currentMillis = millis(); if (currentMillis - previousMillis >= interval) { previousMillis = currentMillis; for(int i=0;i<PIXELS;i++){ // pixels.Color takes RGB values, from 0,0,0 up to 255,255,255 pixels.setPixelColor(i, pixels.Color(r,g,b)); pixels.show(); } if (r!=R && r<R){ r++; } else if (r!=R && r>R){ r--; } if (g!=G && g<G){ g++; } else if (g!=G && g>G){ g--; } if (b!=B && b<B){ b++; } else if (b!=B && b>B){ b--; } } } } //Read time from RTC void readTime(){ DateTime now = rtc.now(); H = now.hour(); M = now.minute(); Time = "Current time in RTC: " + String(H) + ":" + String(M); } //Set time, send <SHH:MM> (example <S05:00>) void setTime(){ if (Serial.available()){ incomingByte = Serial.read(); if(incomingByte=='>'){ messageCompleted=true; newMessage=false; } else if (incomingByte=='<'){ newMessage=true; } if (newMessage){ command.concat(incomingByte); } } if(messageCompleted){ //Set time if (command.charAt(1)=='S'){ int h = (command.substring(2,4)).toInt(); int m = (command.substring(5,7)).toInt(); rtc.adjust(DateTime(2018,01,01,h,m,0)); Serial.println("Done"); readTime(); Serial.println(Time); } command=""; messageCompleted=false; } } |
|
Κατεβάστε τον κώδικα απ' εδώ και ανοίξτε το αρχείο με το Arduino IDE. Το αρχείο περιέχει και την βιβλιοθήκη που χρησιμοποιήσαμε.
|
| ||
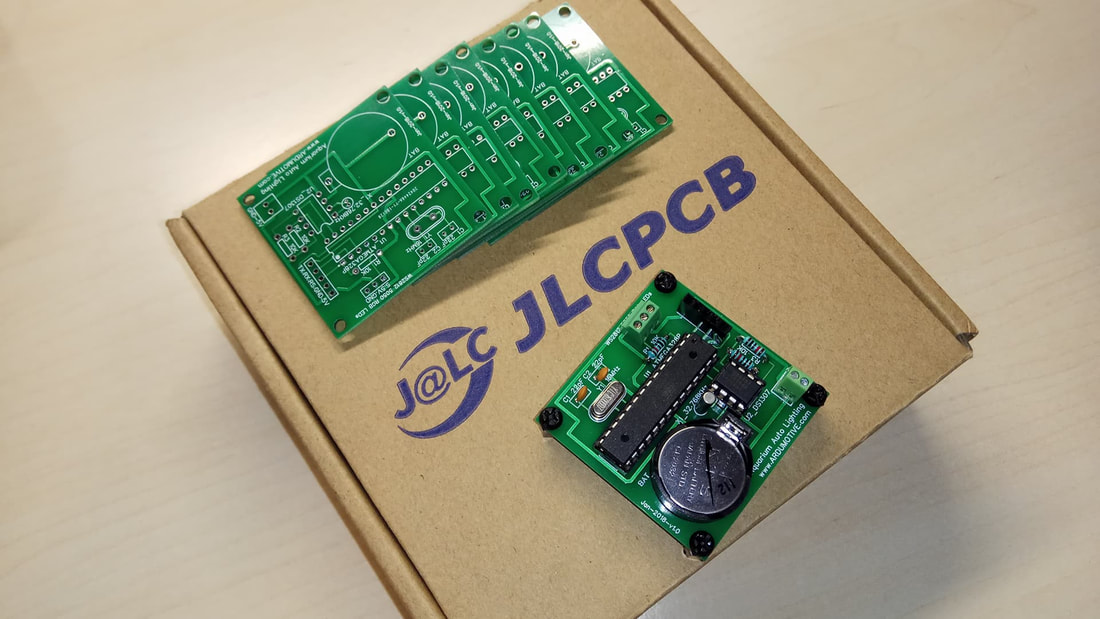
JLCPCB - Φτιάξε το δικό σου κύκλωμα από 2$!
Μπείτε εδώ για να υλοποιήσετε τη δική σας PCB πλακέτα!
Χρησιμοποιήστε το JLCPCB, η ποιότητα είναι πολύ καλή, δείτε την παρακάτω φωτογραφία της δικής μας PCB πλακέτας. Μας κόστισε 2$ για 5 κομμάτια (+τα μεταφορικά)
Χρησιμοποιήστε το JLCPCB, η ποιότητα είναι πολύ καλή, δείτε την παρακάτω φωτογραφία της δικής μας PCB πλακέτας. Μας κόστισε 2$ για 5 κομμάτια (+τα μεταφορικά)
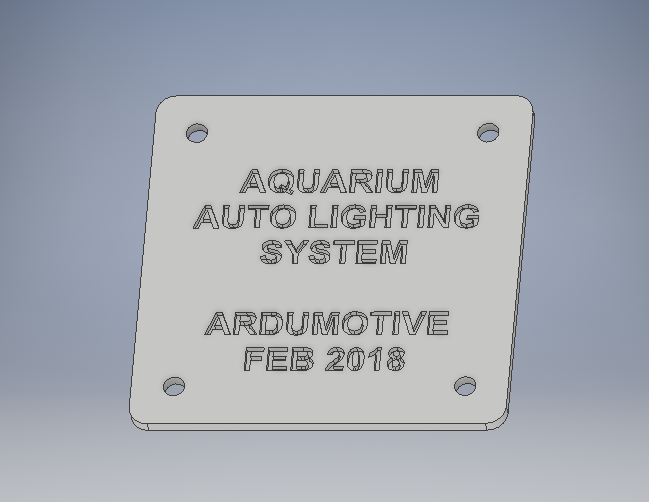
3D Parts

|
|
| aquabox1.stl |
Συγχαρητήρια!

Μόλις ολοκληρώσατε άλλον έναν οδηγό . Ελπίζω να σας άρεσε, περιμένω τα σχόλια σας και φωτογραφίες της κατασκευής σας παρακάτω.


