Introduction |
Published date: 7/1/2017
|
|
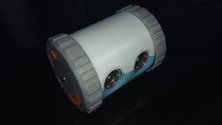
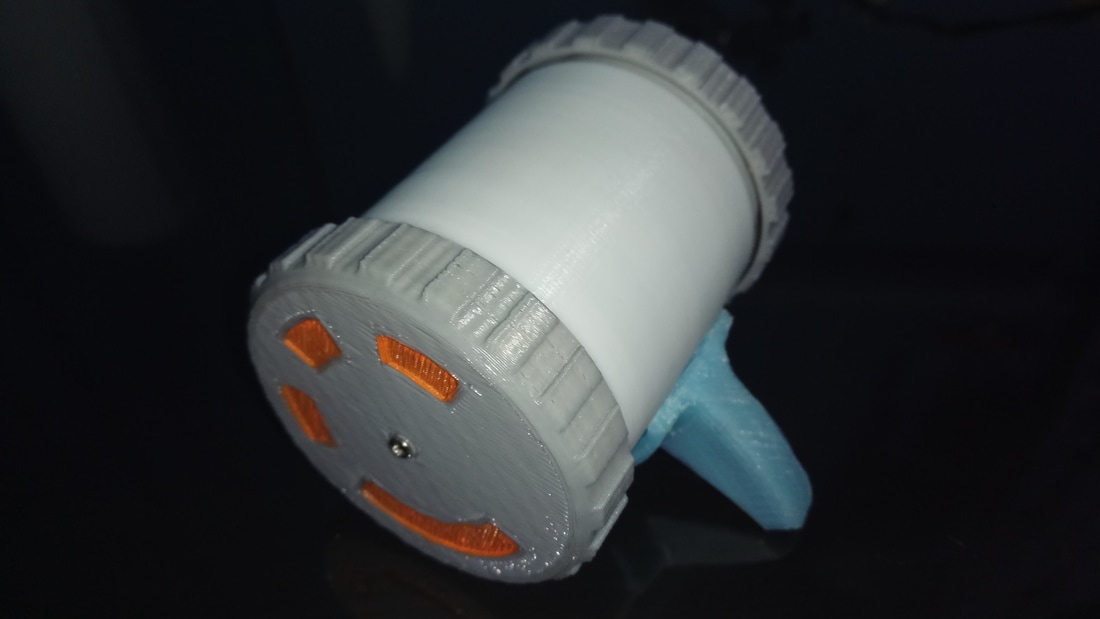
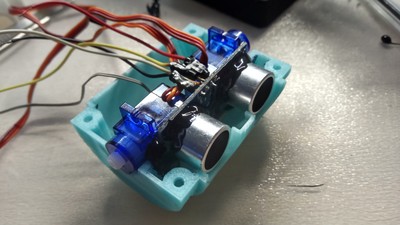
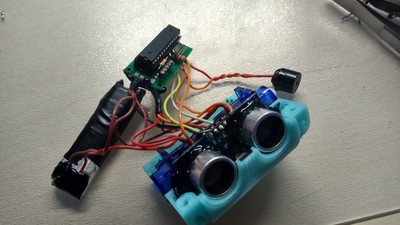
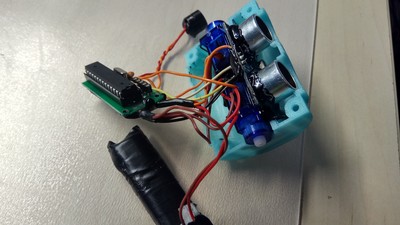
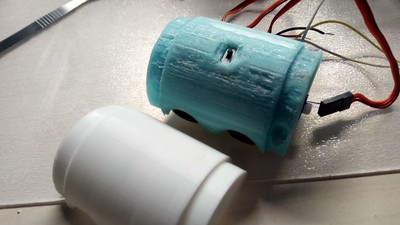
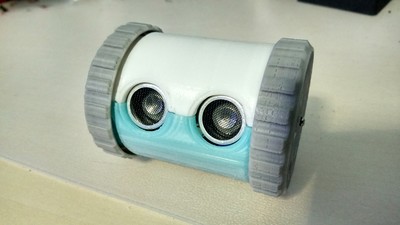
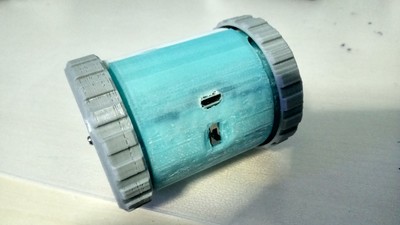
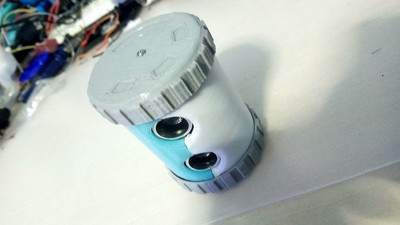
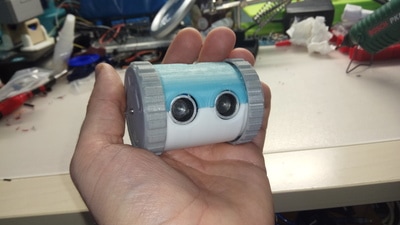
In this "how to" guide i will show you how to make your own 3D printed Can Robot with the Arduino UNO micro-controller.
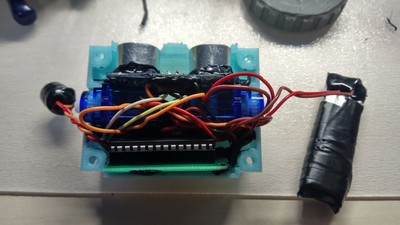
This is a remake of the Attiny Canbot that I found at Thingiverse.com by Wingman94 (link here) . I made my own circuit with ATmega328 IC and I add a buzzer to make a beep tone every time that robot finds an object in front of it. I didn't include the IR remote control function. This little robot is powered by one 3.7V 500mAh rechargeable battery and can be charged from the builtin charging circuit . Watch my little robot in action. |
What you will need - Hardware
|
For this project you will need:
|
|
You will also need a TTL to USB module or an Arduino UNO board for the programming procedure.
Tools: You will need a soldering iron and hot melt glue gun and of course a 3D printer.
Tools: You will need a soldering iron and hot melt glue gun and of course a 3D printer.
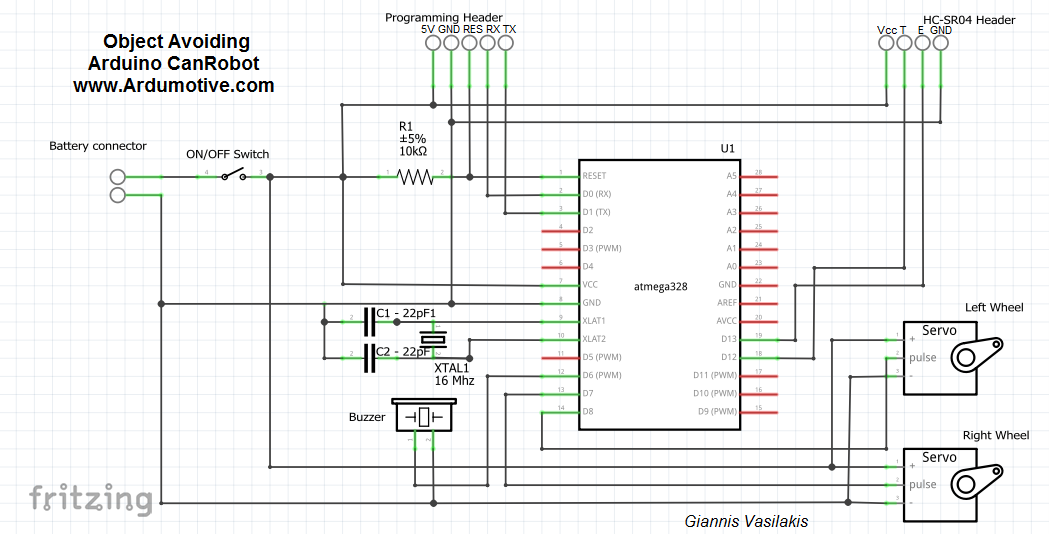
The circuit
|
|
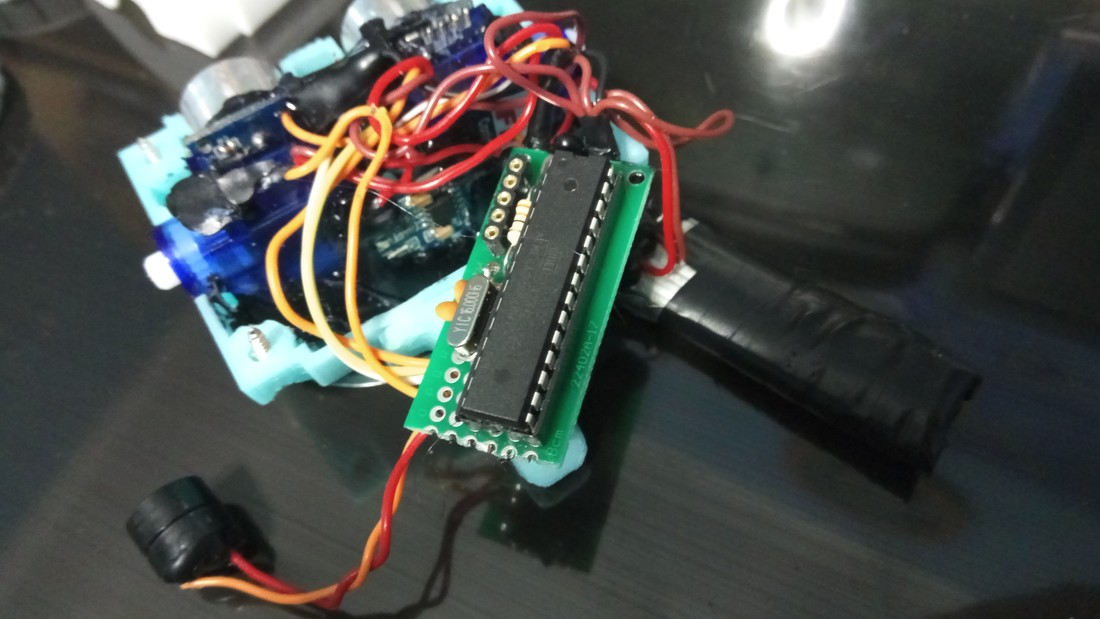
Take your time and make your circuit as small as you can so it can fit inside the can robot.
|
The code
Connect your circuit with TTL to USB module (or Arduino uno board - note - remove ATmega328) with 5 cables to the programming header. The pins RX and TX must be cross-connected. You can change the speed of your small robot by changing the "speedS=10" variable - line 14.
1 2 3 4 5 6 7 8 9 10 11 12 13 14 15 16 17 18 19 20 21 22 23 24 25 26 27 28 29 30 31 32 33 34 35 36 37 38 39 40 41 42 43 44 45 46 47 48 49 50 51 52 53 54 55 56 57 58 59 60 61 62 63 64 65 66 67 68 69 70 71 72 | /* Arduino 3D printed Can Robot with object avoiding function * Dev: Michalis Vasilakis // Date: 7/1/2017 // Ver: 1.0 * More info at http://www.ardumotive.com/workshop */ #include <Servo.h> #include <Ultrasonic.h> const int buzzer = 6; Ultrasonic ultrasonic(12,13); Servo leftServo, rightServo; int dist=100; int count=0; int speedS = 10; void setup() { rightServo.attach(7); leftServo.attach(8); delay(3000); } void loop() { dist = ultrasonic.Ranging(CM); //Use 'CM' for centimeters or 'INC' for inches if (dist > 15){ forward(); } else{ tone(buzzer,200,500); if (count==0){ right(); delay(400); } else if(count==1){ left(); delay(400); } else if(count==2){ backward(); delay(1000); left(); delay(400); } if (count==3){ count=0; } else{ count++; } } delay(10); } void forward(){ leftServo.write(speedS+90+10); rightServo.write(95-speedS-10); } void backward(){ leftServo.write(90-speedS); rightServo.write(speedS+95); } void right(){ leftServo.write(speedS+90); rightServo.write(speedS+95); } void left(){ leftServo.write(speedS-90); rightServo.write(speedS-95); } void stop(){ leftServo.write(90); rightServo.write(95); } |
|
Download the code from here and open it with Arduino IDE. Inside you will also find all necessary libraries.
|
| ||||||
3D printing files
|
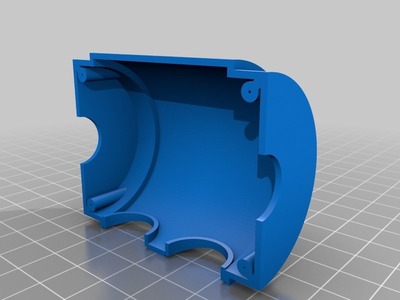
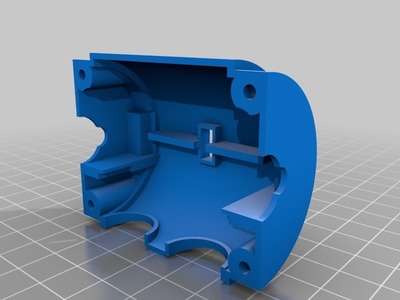
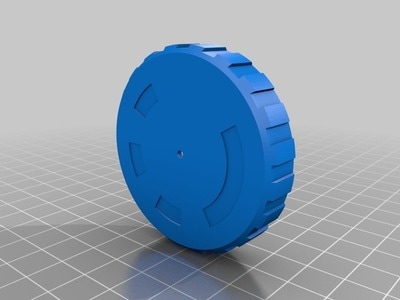
Here you will find the 3D files, download them from the official project page. I would advice you to use support at your 3D printing procedure. |
|
Well done!
That's it!
I hope you liked this, let me know in the comments! I would aslo like to see some photos with your new 3d printed robot!
I hope you liked this, let me know in the comments! I would aslo like to see some photos with your new 3d printed robot!


