
|
Available Languages
|

|

|
Introduction
|
In this tutorial you will learn how to use the RGB LED WS2812 5050 with the Arduino UNO board.
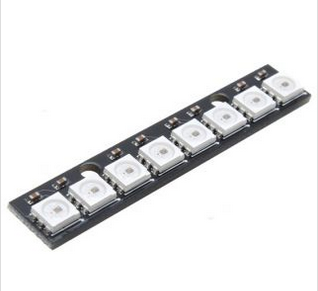
This LED Stick is a small chainable board with eight 5050 WS2812 RGB LEDs. The WS2812s are each addressable as the driver chip is located inside the LED. Each LED Stick has ~18mA constant current drive so the color will be very consistent even if the voltage varies, and requires 5V. |
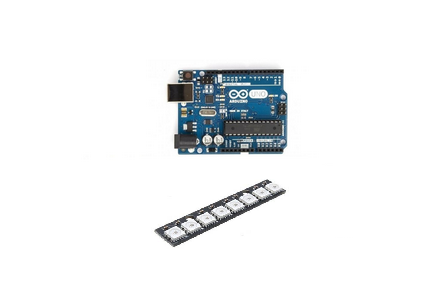
What you will need - Hardware
|
For this tutorial you will need:
|
|
The Circuit
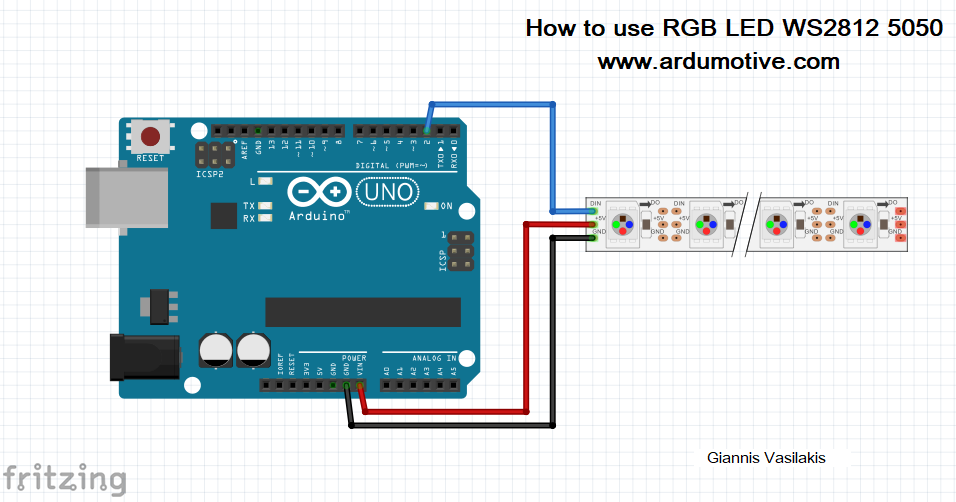
The connections are pretty easy, see the image above with breadboard circuit schematic.
The code
1 2 3 4 5 6 7 8 9 10 11 12 13 14 15 16 17 18 19 20 21 22 23 24 25 26 27 28 29 30 31 32 33 34 35 36 37 38 39 40 41 42 43 44 45 46 47 | // NeoPixel Ring simple sketch (c) 2013 Shae Erisson // released under the GPLv3 license to match the rest of the AdaFruit NeoPixel library #include <Adafruit_NeoPixel.h> #ifdef __AVR__ #include <avr/power.h> #endif // Which pin on the Arduino is connected to the NeoPixels? // On a Trinket or Gemma we suggest changing this to 1 #define PIN 2 // How many NeoPixels are attached to the Arduino? #define NUMPIXELS 8 // When we setup the NeoPixel library, we tell it how many pixels, and which pin to use to send signals. // Note that for older NeoPixel strips you might need to change the third parameter--see the strandtest // example for more information on possible values. Adafruit_NeoPixel pixels = Adafruit_NeoPixel(NUMPIXELS, PIN, NEO_GRB + NEO_KHZ800); int delayval = 500; // delay for half a second void setup() { // This is for Trinket 5V 16MHz, you can remove these three lines if you are not using a Trinket #if defined (__AVR_ATtiny85__) if (F_CPU == 16000000) clock_prescale_set(clock_div_1); #endif // End of trinket special code pixels.begin(); // This initializes the NeoPixel library. } void loop() { // For a set of NeoPixels the first NeoPixel is 0, second is 1, all the way up to the count of pixels minus one. for(int i=0;i<NUMPIXELS;i++){ // pixels.Color takes RGB values, from 0,0,0 up to 255,255,255 pixels.setPixelColor(i, pixels.Color(0,100,0)); // Moderately bright green color. pixels.show(); // This sends the updated pixel color to the hardware. delay(delayval); // Delay for a period of time (in milliseconds). } } |
|
Download the code from here and open it with Arduino IDE. Inside you will also find and the library.
|
| ||
Well done!
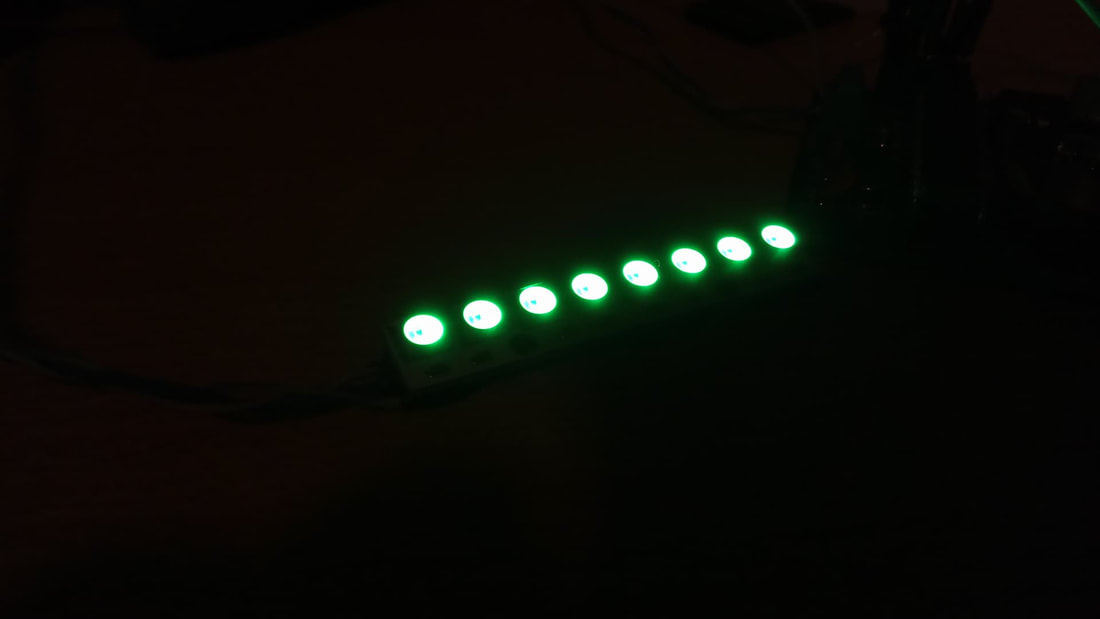
You have successfully completed one more Arduino "How to" tutorial. I hope you liked this, let me know in the comments.


