
|
Available Languages
|

|

|
Εισαγωγή
|
Σε αυτόν τον οδηγό θα μάθουμε πως χρησιμοποιείται το RGB LED WS2812 5050 με το Arduino.
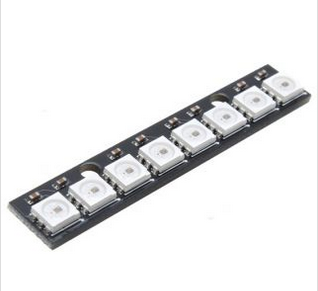
Πρόκειται για μία σείρα από οχτώ 5050 WS2812 RGB LEDs.Κάθε LED έχει περίπου 18mA σταθερού ρεύματος, οπότε το χρώμα του κάθε LED παραμένει σταθερό σε όλη την αλυσίδα. Η απαιτούμενη τάση είναι 5V. |
Τα υλικά που θα χρειαστούμε
|
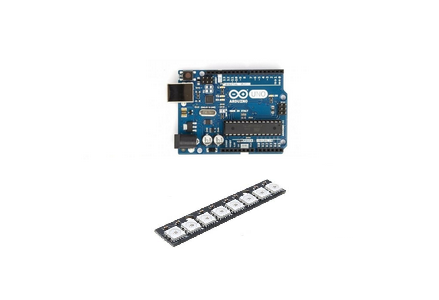
Για το tutorial αυτό θα χρειαστούμε:
|
|
Το κύκλωμα
|
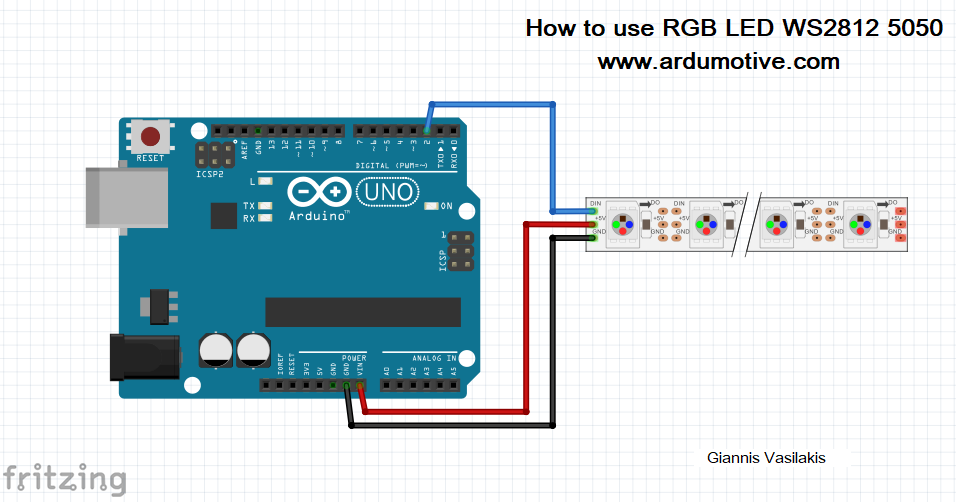
Οι συνδέσεις είναι αρκετά απλές, δείτε την παραπάνω εικόνα με το σχηματικό του κυκλώματος.
|
|
Ο κώδικας
1 2 3 4 5 6 7 8 9 10 11 12 13 14 15 16 17 18 19 20 21 22 23 24 25 26 27 28 29 30 31 32 33 34 35 36 37 38 39 40 41 42 43 44 45 46 47 | // NeoPixel Ring simple sketch (c) 2013 Shae Erisson // released under the GPLv3 license to match the rest of the AdaFruit NeoPixel library #include <Adafruit_NeoPixel.h> #ifdef __AVR__ #include <avr/power.h> #endif // Which pin on the Arduino is connected to the NeoPixels? // On a Trinket or Gemma we suggest changing this to 1 #define PIN 2 // How many NeoPixels are attached to the Arduino? #define NUMPIXELS 8 // When we setup the NeoPixel library, we tell it how many pixels, and which pin to use to send signals. // Note that for older NeoPixel strips you might need to change the third parameter--see the strandtest // example for more information on possible values. Adafruit_NeoPixel pixels = Adafruit_NeoPixel(NUMPIXELS, PIN, NEO_GRB + NEO_KHZ800); int delayval = 500; // delay for half a second void setup() { // This is for Trinket 5V 16MHz, you can remove these three lines if you are not using a Trinket #if defined (__AVR_ATtiny85__) if (F_CPU == 16000000) clock_prescale_set(clock_div_1); #endif // End of trinket special code pixels.begin(); // This initializes the NeoPixel library. } void loop() { // For a set of NeoPixels the first NeoPixel is 0, second is 1, all the way up to the count of pixels minus one. for(int i=0;i<NUMPIXELS;i++){ // pixels.Color takes RGB values, from 0,0,0 up to 255,255,255 pixels.setPixelColor(i, pixels.Color(0,100,0)); // Moderately bright green color. pixels.show(); // This sends the updated pixel color to the hardware. delay(delayval); // Delay for a period of time (in milliseconds). } } |
|
Κατεβάστε τον κώδικα απ' εδώ και ανοίξτε το αρχείο με το Arduino IDE. Στο αρχείο συμπεριλαμβάνεται και η βιβλιοθήκη.
|
| ||
Συγχαρητήρια!
Μόλις ολοκληρώσατε άλλο ένα Arduino "How to" tutorial. Ελπίζω να σας άρεσε, αν θέλετε μπορείτε να αφήσετε το σχόλιο σας παρακάτω.


