Introduction
What you will need - Hardware
|
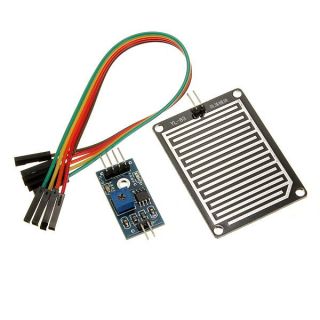
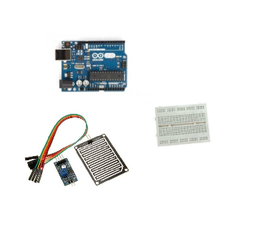
For this tutorial you will need:
|
The Circuit
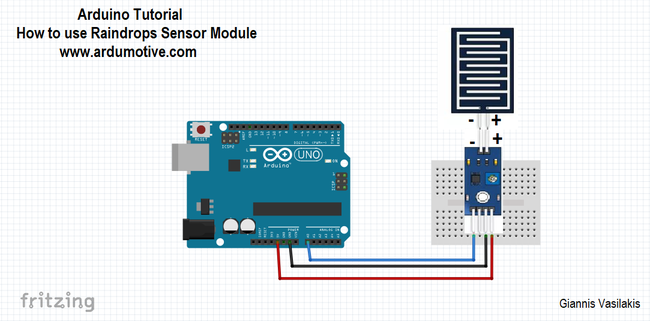
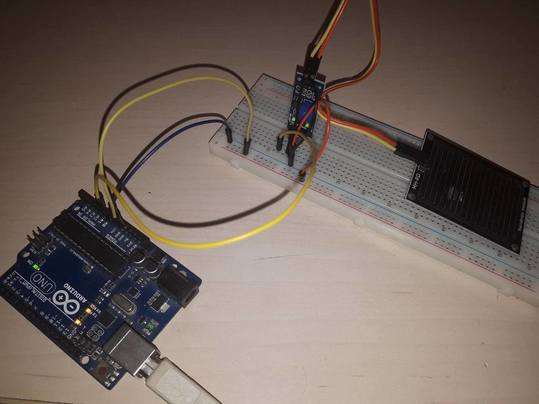
The connections are pretty easy, see the image above with the breadboard circuit schematic.
Make sure to watch sensor from front side:
Make sure to watch sensor from front side:
- Connect the Vcc pin to 5 Volts (5V) if you use analog pin or connect Vcc pin to 3.3 Volts(3.3V) if you use digital pin
- Connect the A0 pin to pin A0
- Connect the GND pin to ground (GND)
- + pin of sensor to + pin of module
- - pin of sensor to - pin of module
The code
1 2 3 4 5 6 7 8 9 10 11 12 13 14 15 16 17 18 19 20 21 22 23 24 25 26 27 28 29 30 31 32 33 34 35 | /* To test view the output, point a serial monitor such as Putty at your Arduino. - If the Sensor Board has water droplets on it; "case 0" will be activated and " Rain Warning " will be sent to the serial monitor. - If the Sensor Board is dry; "case 1" will be activated and " Not Raining " will be sent to the serial monitor. */ // lowest and highest sensor readings: const int sensorMin = 0; // sensor minimum const int sensorMax = 1024; // sensor maximum void setup() { // initialize serial communication @ 9600 baud: Serial.begin(9600); } void loop() { // read the sensor on analog A0: int sensorReading = analogRead(A0); // map the sensor range (four options): // ex: 'long int map(long int, long int, long int, long int, long int)' int range = map(sensorReading, sensorMin, sensorMax, 0, 3); // range value: switch (range) { case 0: // Sensor getting wet Serial.println("Rain Warning"); break; case 1: // Sensor dry Serial.println("Not Raining"); break; } delay(1000); // delay between reads } |
|
Download the code from here and open it with Arduino IDE.
|
| ||||||
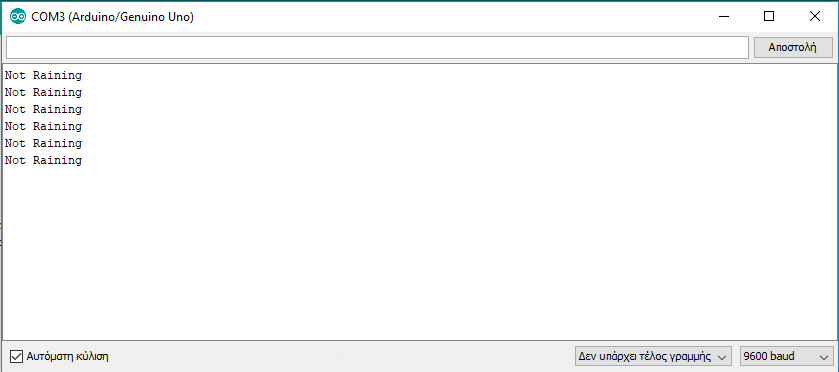
Serial Monitor
If the Sensor Board is dry.
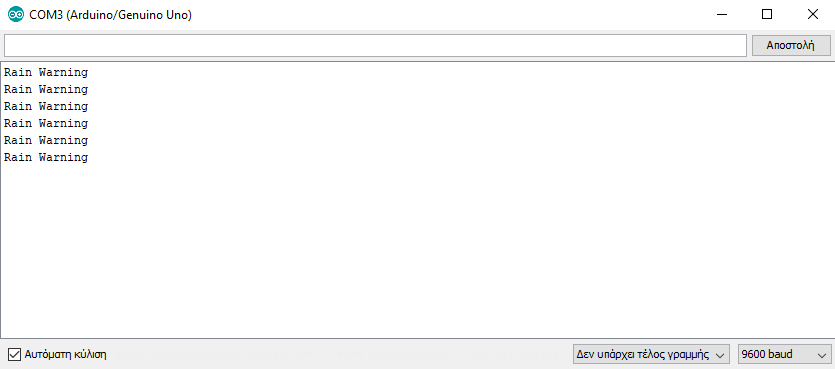
If the Sensor Board has water droplets on it.
Well done!
You have successfully completed one more Arduino "How to" tutorial and you learned how to use the raindrops sensor module with Arduino. I hope you liked this, let me know in the comments.


