
|
Available Languages
|

|

|
Εισαγωγή
|
Σε αυτό το tutorial θα μάθετε πώς να χρησιμοποιείτε τον αισθητήρα βροχής με το Arduino uno. Οι αισθητήρες βροχής χρησιμοποιούνται για την ανίχνευση του νερού.
Δυνατότητες :
|
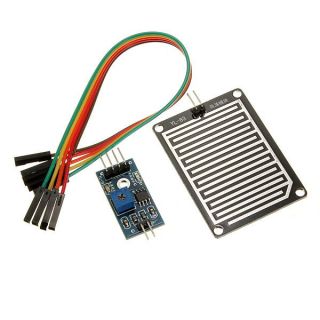
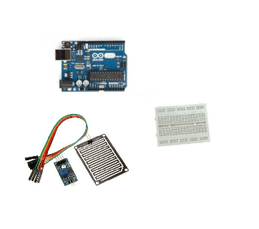
Τα υλικά που θα χρειαστούμε
|
Για το tutorial αυτό θα χρειαστούμε:
|
|
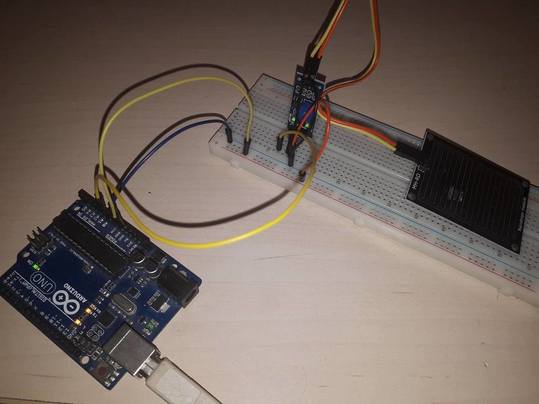
Το κύκλωμα
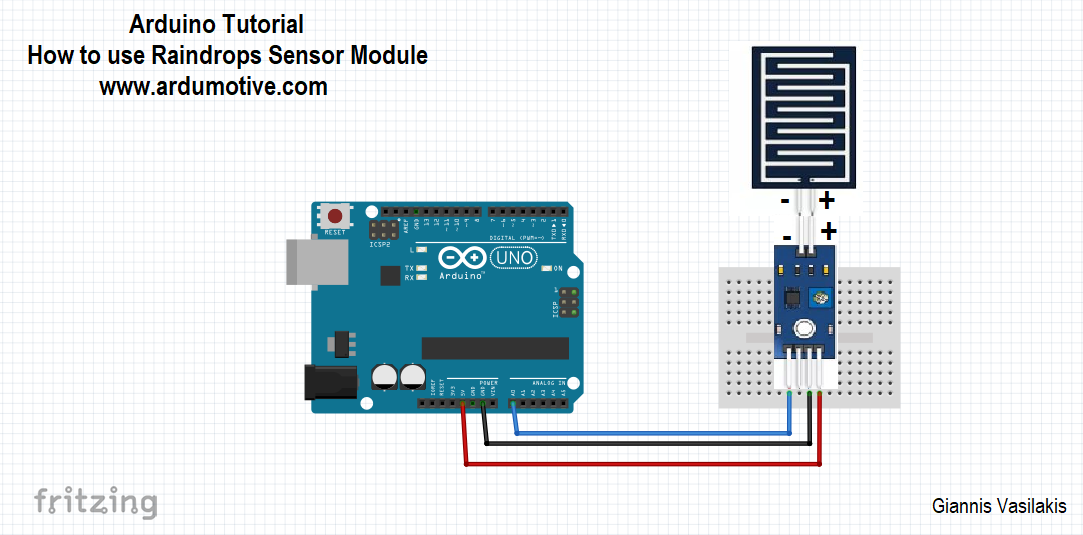
Οι συνδέσεις είναι αρκετά εύκολες, δείτε την παραπάνω εικόνα με το σχηματικό του κυκλώματος σε breadboard:
- Συνδέουμε το Vcc pin στο 5 Volts (5V) του Arduino
- Συνδέουμε το A0 pin στο pin A0 του Arduino
- Συνδέουμε το GND pin στη γείωση (GND) του Arduino
- Συνδέουμε το + pin του αισθητήρα στο + pin της πλακέτας
- Συνδέουμε το - pin του αισθητήρα στο - pin της πλακέτας
Ο κώδικας
1 2 3 4 5 6 7 8 9 10 11 12 13 14 15 16 17 18 19 20 21 22 23 24 25 26 27 28 29 30 31 32 33 34 35 | /* To test view the output, point a serial monitor such as Putty at your Arduino. - If the Sensor Board has water droplets on it; "case 0" will be activated and " Rain Warning " will be sent to the serial monitor. - If the Sensor Board is dry; "case 1" will be activated and " Not Raining " will be sent to the serial monitor. */ // lowest and highest sensor readings: const int sensorMin = 0; // sensor minimum const int sensorMax = 1024; // sensor maximum void setup() { // initialize serial communication @ 9600 baud: Serial.begin(9600); } void loop() { // read the sensor on analog A0: int sensorReading = analogRead(A0); // map the sensor range (four options): // ex: 'long int map(long int, long int, long int, long int, long int)' int range = map(sensorReading, sensorMin, sensorMax, 0, 3); // range value: switch (range) { case 0: // Sensor getting wet Serial.println("Rain Warning"); break; case 1: // Sensor dry Serial.println("Not Raining"); break; } delay(1000); // delay between reads } |
|
Κατεβάστε τον κώδικα απ' εδώ και ανοίξτε το αρχείο με το Arduino IDE.
|
| ||
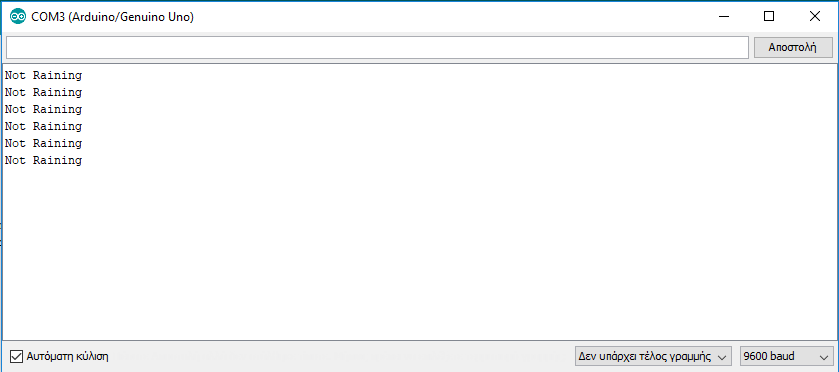
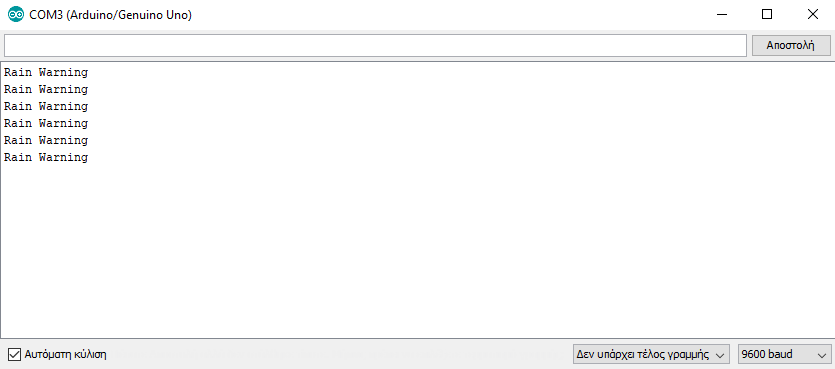
Σειριακή οθόνη
Αν ο αισθητήρας είναι στεγνός τότε μας εμφανίζει το παρακάτω μήνυμα
Αν ο αισθητήρας είναι βρεγμένος τότε μας εμφανίζει το παρακάτω μήνυμα
Συγχαρητήρια!
Μόλις ολοκληρώσατε άλλο ένα Arduino "How to" tutorial και μάθατε να χρησιμοποιείτε τον αισθητήρα βροχής μαζί με το Arduino. Ελπίζω να σας άρεσε, αν θέλετε μπορείτε να αφήσετε το σχόλιο σας παρακάτω.


