Εισαγωγή
Τα υλικά που θα χρειαστείτε και η σύνδεση
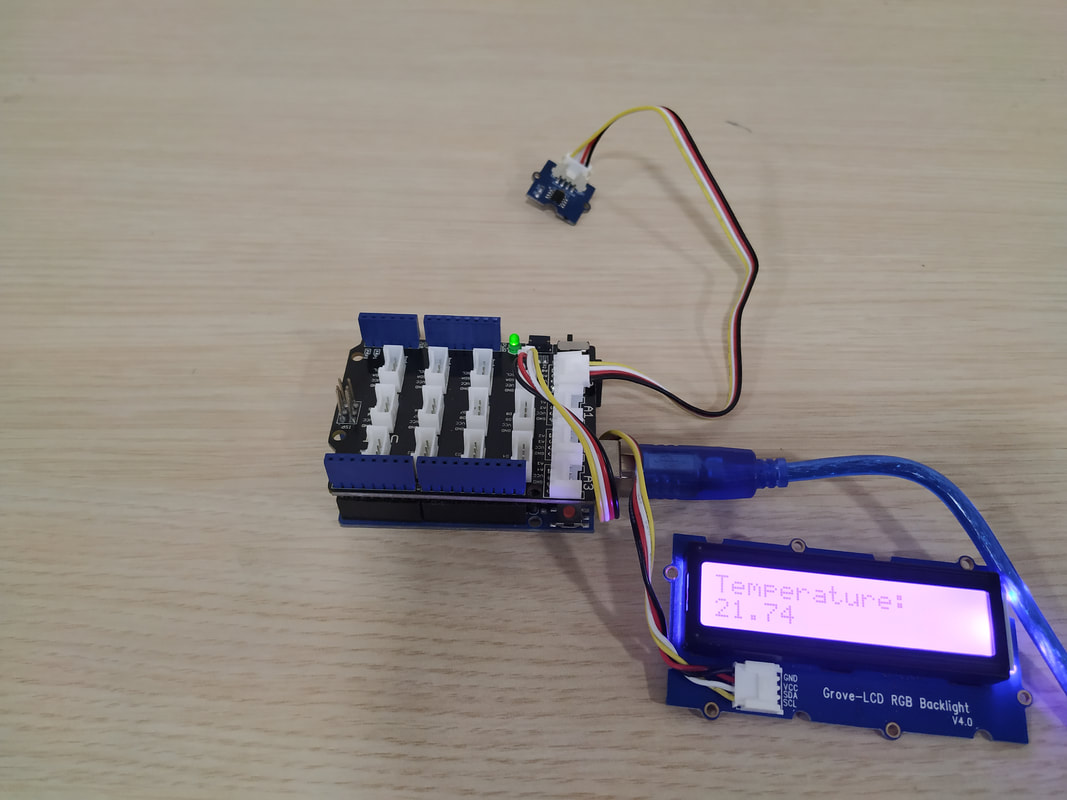
Για το tutorial αυτό θα χρειαστείτε:
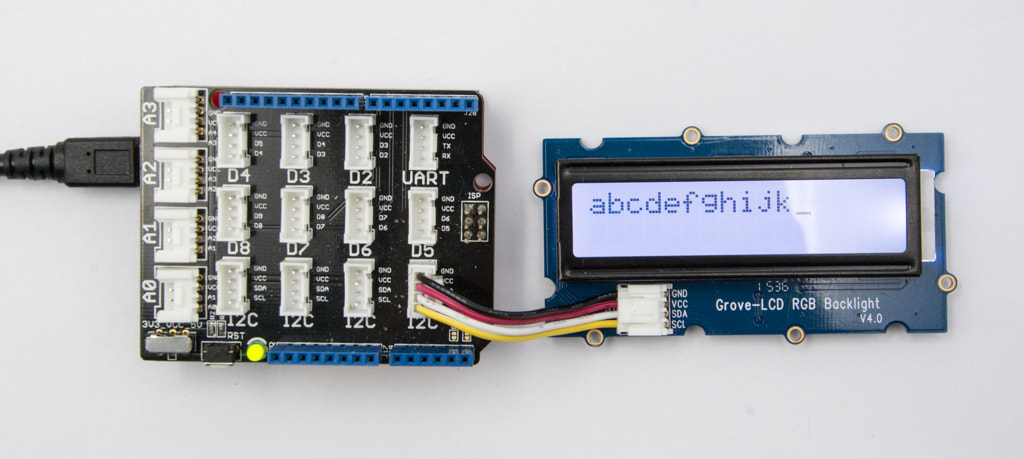
- Arduino UNO
- Grove Base Shield
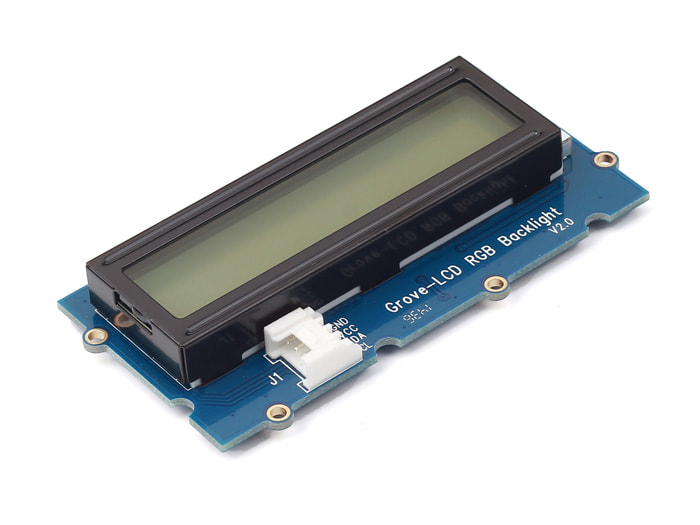
- LCD RGB Backlight
- Temperature Sensor (Συνδέστε το Grove-Temp sensor στην A0 είσοδο του Grove-Base Shield)
Ο κώδικας
1 2 3 4 5 6 7 8 9 10 11 12 13 14 15 16 17 18 19 20 21 22 23 24 25 26 27 28 29 30 31 32 33 34 35 36 37 38 39 40 | #include <Wire.h> #include "rgb_lcd.h" #include <math.h> const int B = 4275; // B value of the thermistor const int R0 = 100000; // R0 = 100k const int pinTempSensor = A0; // Grove - Temperature Sensor connect to A0 rgb_lcd lcd; const int colorR = 250; const int colorG = 0; const int colorB = 250; void setup() { // set up the LCD's number of columns and rows: lcd.begin(16, 2); lcd.setRGB(colorR, colorG, colorB); // Print a message to the LCD. lcd.print("Hello Ardumotive"); delay(1500); } void loop() { int a = analogRead(pinTempSensor); float R = 1023.0/a-1.0; R = R0*R; float temperature = 1.0/(log(R/R0)/B+1/298.15)-273.15; lcd.clear(); lcd.setCursor(0, 0); lcd.print("Temperature:"); lcd.setCursor(0, 1); // print the number of seconds since reset: lcd.print(temperature); delay(500); } |
|
Κατεβάστε τον κώδικα απ' εδώ και ανοίξτε το αρχείο με το Arduino IDE. Μέσα θα βρείτε και τις βιβλιοθήκες που χρησιμοποιήσαμε.
|
| ||||||
Συγχαρητήρια !
Μόλις ολοκλήρωσες άλλο ένα tutorial με το Grove !
Αν το έκανες και εσύ και σου φάνηκε εύκολο γράψε την άποψη σου κάτω στα σχόλια !
Αν το έκανες και εσύ και σου φάνηκε εύκολο γράψε την άποψη σου κάτω στα σχόλια !


